
Beacon Hill: Trimming interior and building outer wall.

I did go back to the Beacon Hill and finish trimming the last room on the top floor, and the secret tower room.

This space will continue the bedroom–be a sitting area.

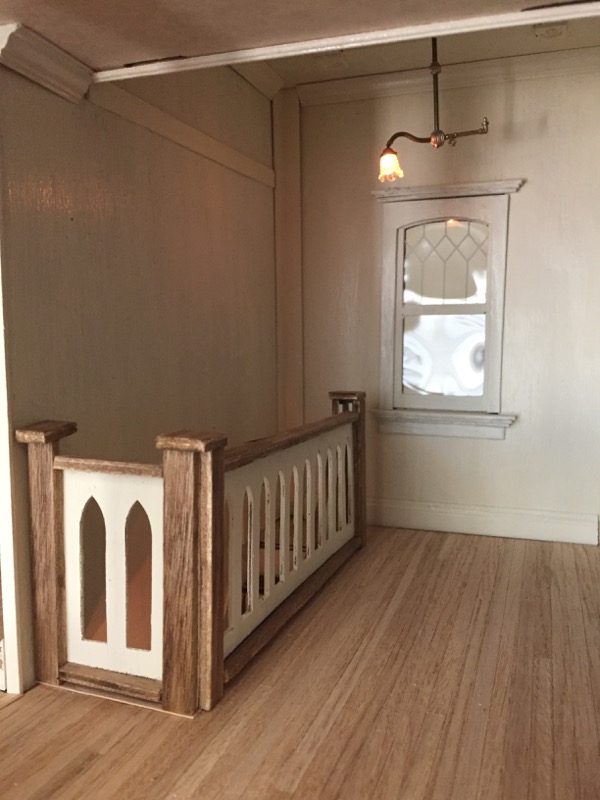
I had to do a ton of trimming here: Around the corners of the tower ceiling, the corners of the back wall, plus picture rail-like trim to cover slots, the raw edge of the divider wall, plus the usual baseboards and cornices.

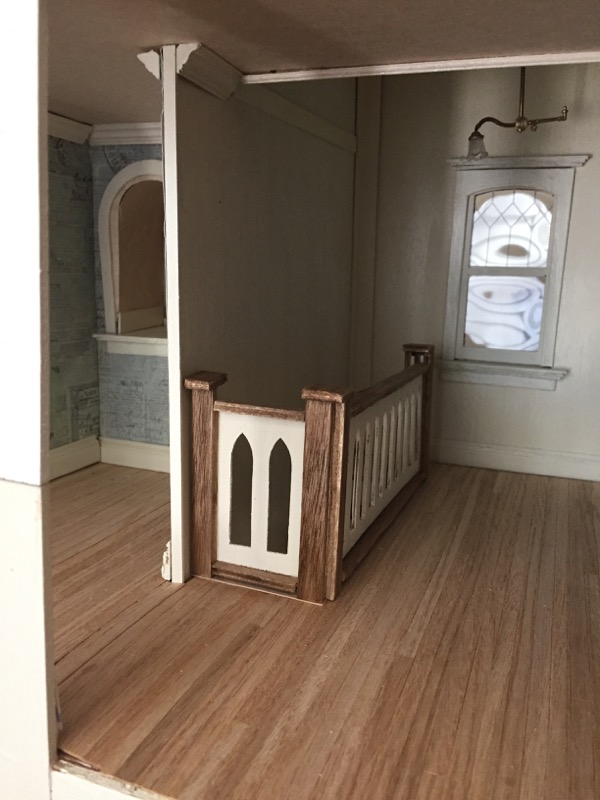
This photo shows more how it will be one big room.

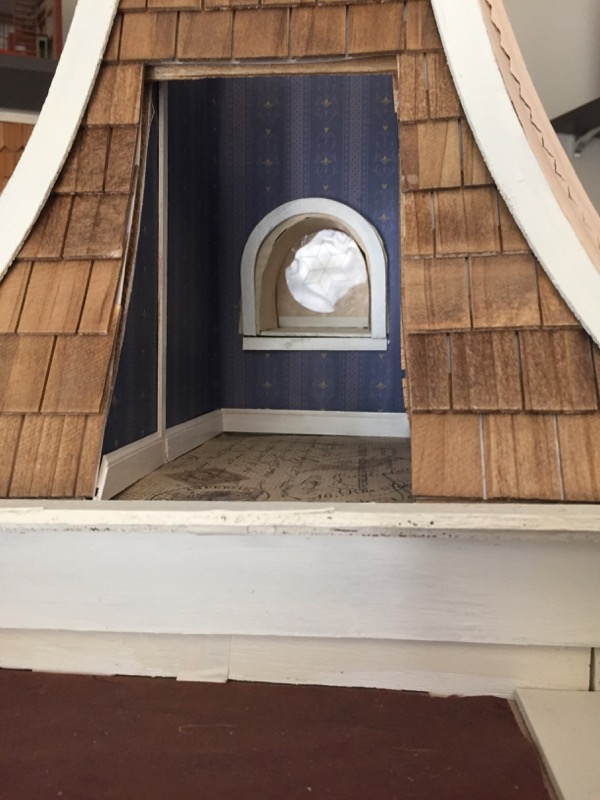
I trimmed up the tower room as well, including the window–which the kit has no interior trim for as this room is not supposed to be seen from the inside. The floor is scrapbooking paper–I was feeling whimsical. Maybe it’s an interesting floor cloth. I’ll do more with this room later.

All right–now that the interior is trimmed, time to build the outer wall for the side I cut away and trim the exterior.

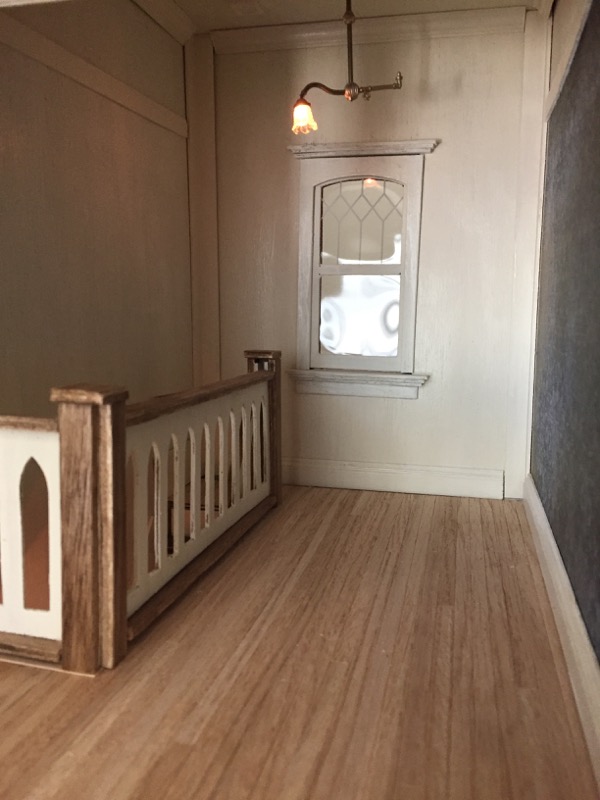
I realized that before I could build the wall, I needed to build another wall sconce. The rear of the front hall is dark (chandelier is pretty but doesn’t generate much light). I need a matching one to the first one I built.

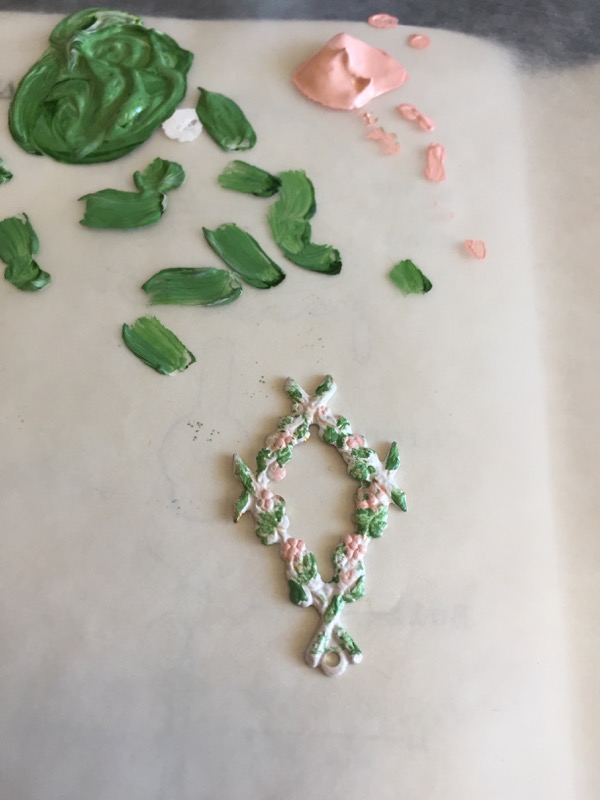
Out came my findings and paint. This sconce will go with the chandelier and other sconce already done. Painting the finding.

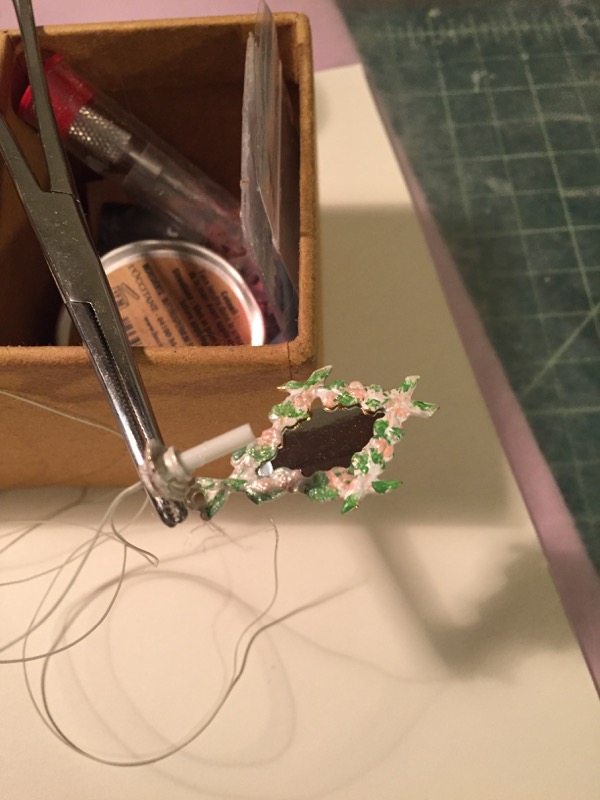
Gluing together the back, mirror, and arm with candle socket.

Finished sconce (which does light–I checked!)

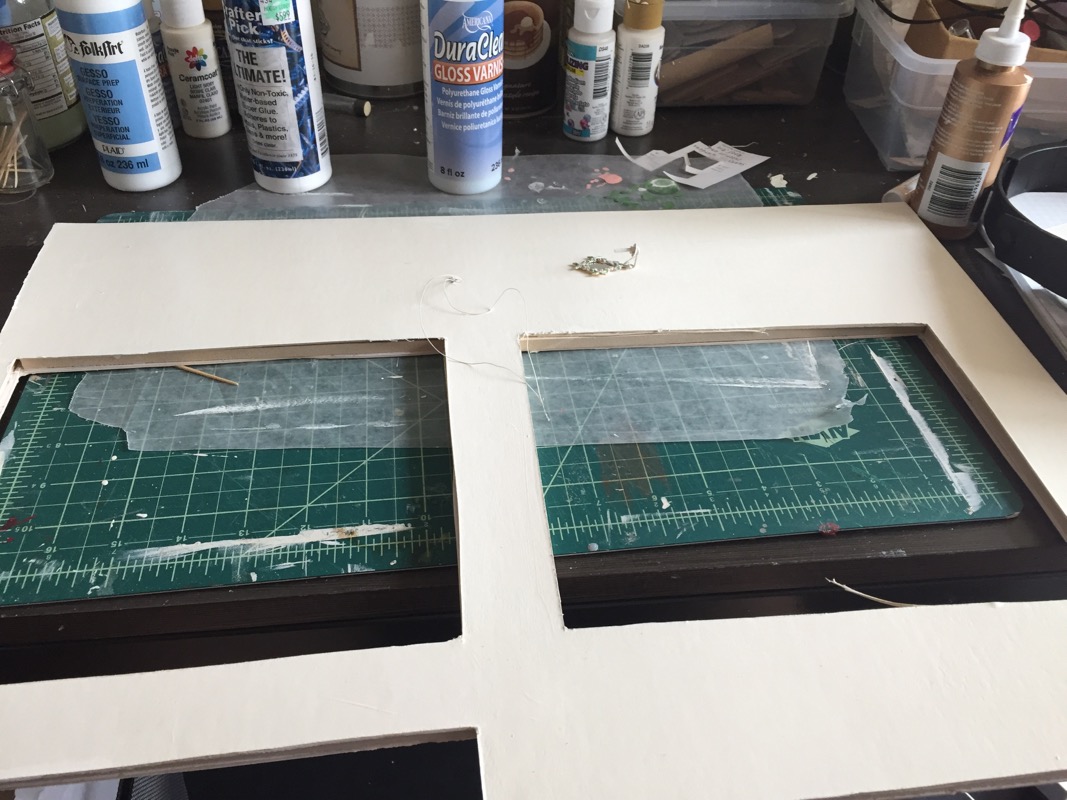
The base wall. From this I will build a two-story bay window. The sconce had to be installed before the wall went up.

The base wall glued in place. Now I need to build the floors, sides, roof, and outer wall that will hold the windows.


Filed under: Beacon Hill Dollhouse, Dollhouse kits, Electricity, Greenleaf dollhouse kits, jewelry findings, Kit Bashing, Kits Building, One-Inch scale

Comments

Popular posts from this blog

Mind the gap: Fit IKEA MALM over a tall baseboard

I forgot one thing when I ordered the MALM dresser : The baseboards in my apartment are very tall and very wide. So, when I installed it, I had a 4 cm gap between the wall and the back of the cabinet which was not aesthetically possible for me. As it is not possible to cut the back of dresser at the bottom to leave room for the tall baseboard, I decided that MALM should be raised. And it was much simpler than I had imagined. You’ll need: A MALM dresser (mine is a 6-drawer chest) Six oak bed legs (I think five would have been enough, but while I was there …) 6 mounting plates A piece of plywood the size of the bottom of the cabinet (I went to the hardware store next door, it cost me less than 5€) Screws White adhesive edging tape How to raise the MALM dresser above a tall baseboard Place the MALM upside down. Fix the plywood onto the underside of the MALM with screws. Predrill holes for the leg screws (if you have the same baseboard problem as me, make sure you measur...

How to Document the Home Building Process

Building your home is a unique experience filled with stories you will never forget. There is also important information you need to remember if you build, even after you settle in. Whether it’s for your family or for future renovations, documenting your build is an important part of the process. Keeping track of your documents and making sure your family stay in the loop can help you stay organized and make sure you remember everything about your build. Not sure how to stay on top of all of the details? Document the process with these simple tips so you can always look back on it fondly. Collect this idea Use social media and involve your friends. Image: Kroiss Development Keep friends and family in the loop The home building process is exciting and your friends and family will want to be included. In fact, you’ll probably find that your new home becomes a popular conversation topic. You don’t need to personally keep everyone in the loop. Instead, you can find ways to keep ev...

IKEA KALLAX Queen Storage Bed

I built this prior to knowing this website existed, this probably would have saved some contemplation. For difficulty reference, I am no carpenter (electrician actually) and I built it with my right hand in a cast. We bought an old house with original hardwood flooring from the 40s so we were very concerned about damaging it. The casters on a normal bed frame put a lot of pressure on a small surface and we didn’t want it dented or damaged if things started a rockin …. Plus, a 40′s house has virtually no storage as you only needed 3 pairs of pants back then. IKEA material : 3 x KALLAX shelf units (4) 4 x KALLAX drawer kits 8 x KALLAX fabric boxes Non-IKEA material : 4 x 2×4 A grade (saves time) 2 x 2×6 2 x sheets 1/2″ plywood (what ever grade you want) 25ft x iron-on edge trim 100 x 3″ #8 wood screws 20 x 1-1/4″ #8 wood screws satin white paint Tools (I used) : Tape measure Drill w/ 1/8″ bit for piloting holes Impact driver for screws Table saw Miter saw Ass...