
Bamboo IKEA cutting board into Floating Nightstand

portadadefinitiva-1

Lluís trims the APTITLIG bamboo chopping board into an elegant floating nightstand. A minimalist shelf, without legs and barely visible brackets beneath. It is not meant to hold a lot of weight but it’s perfectly functional for your nightcap and next-to-bed essentials. Here’s how:

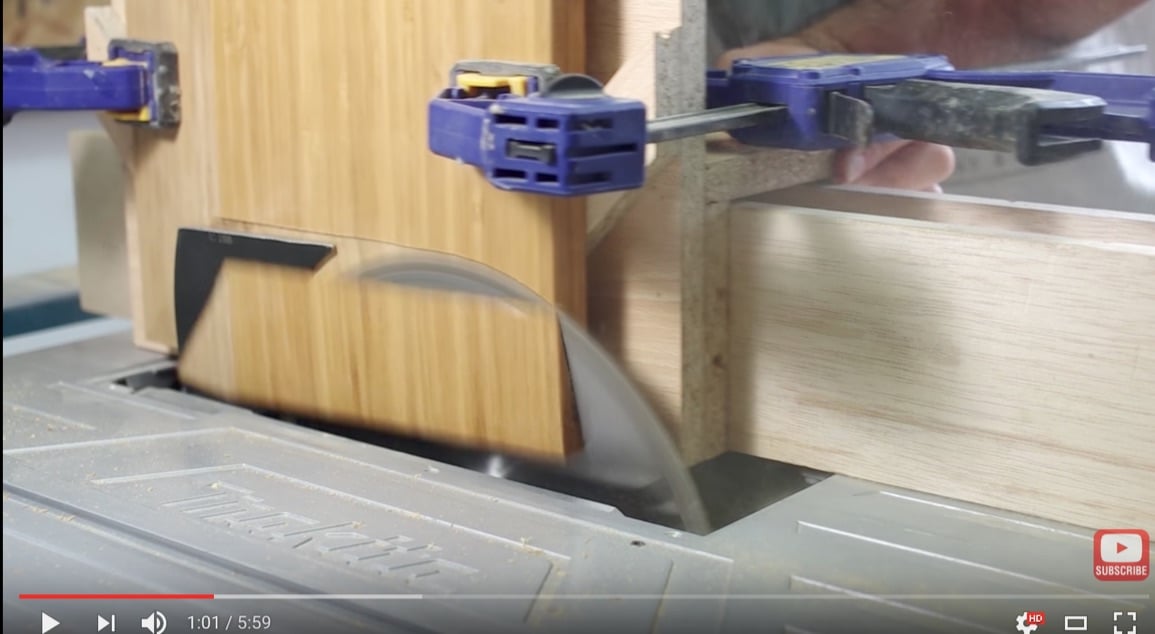
1. Using a table saw, cut a bevel edge for all 4 sides of the chopping board.

bamboo-floating-nightstand-6

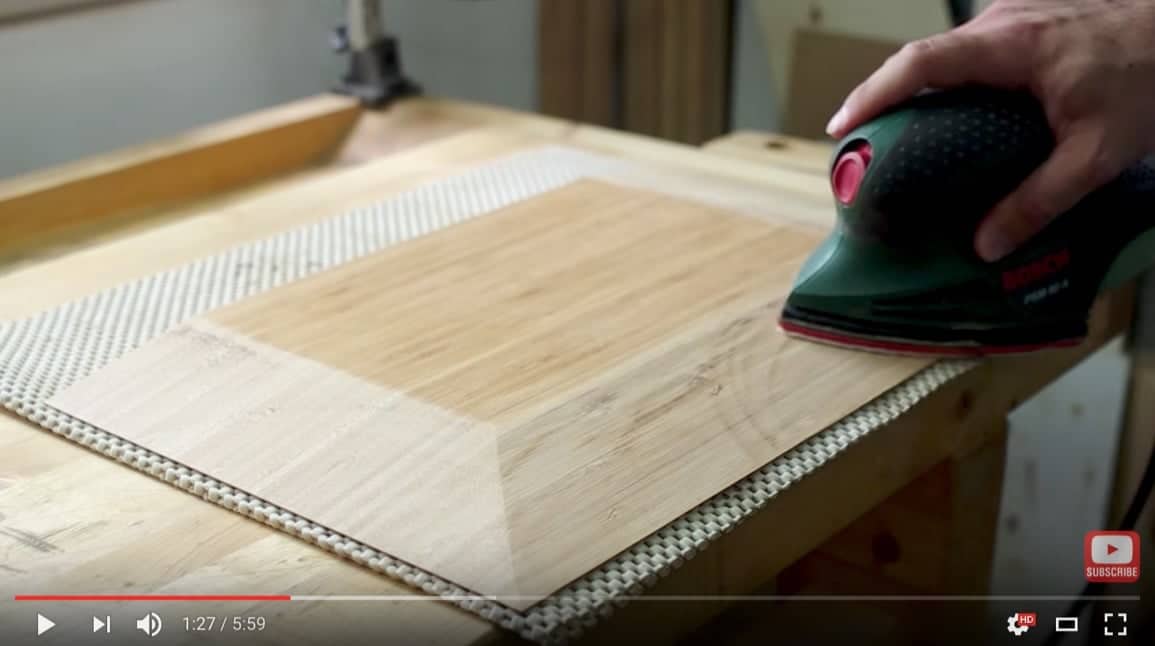
2. Sand the cut edges with an orbital sander and finish with fine grit sandpaper.

bamboo-floating-nightstand-8

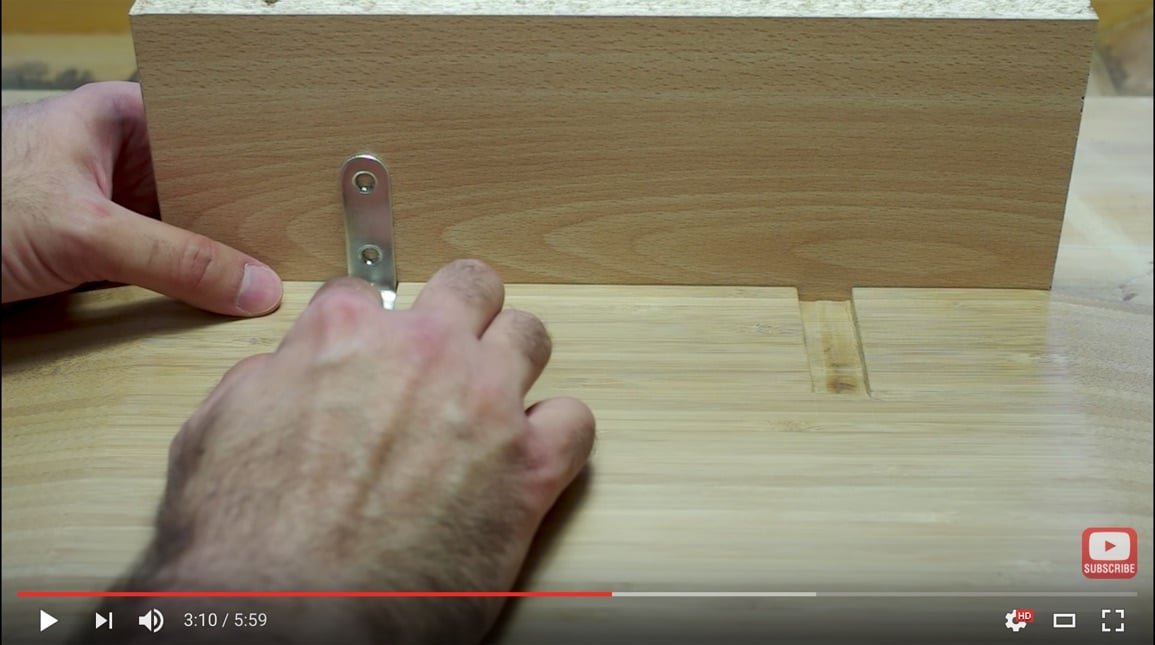
3. Next mark where you want the brackets to go.

bamboo-floating-nightstand-9

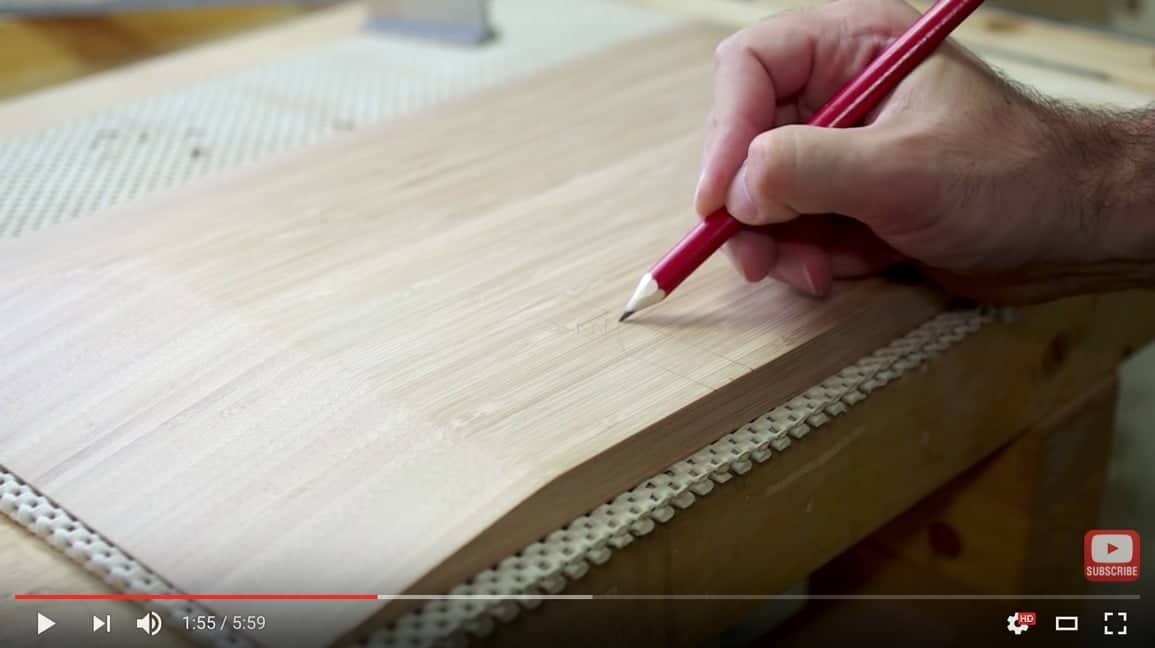
4. Score the marked lines with a penknife.

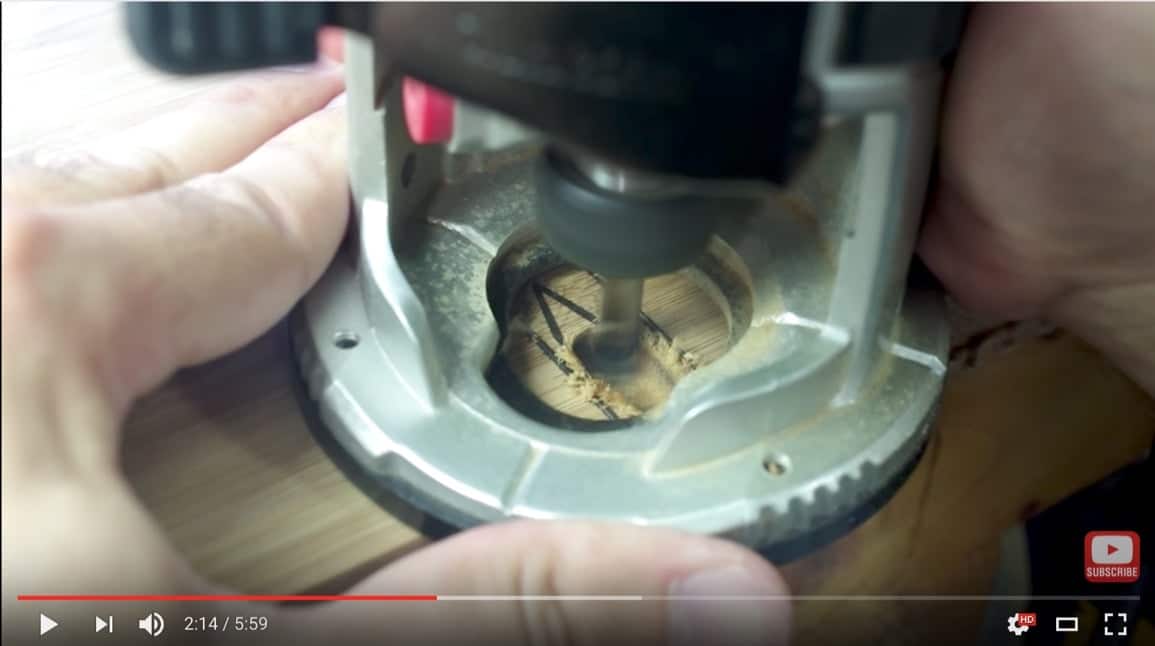
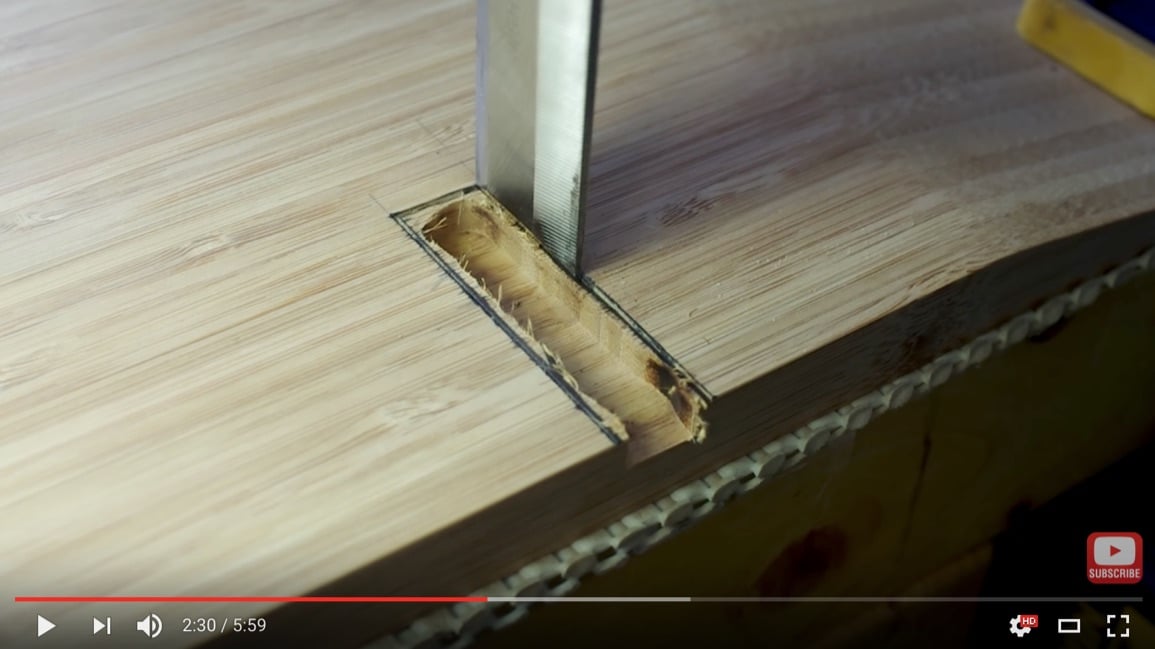
5. Use a router to create grooves for the brackets.

bamboo-floating-nightstand-5

bamboo-floating-nightstand-2

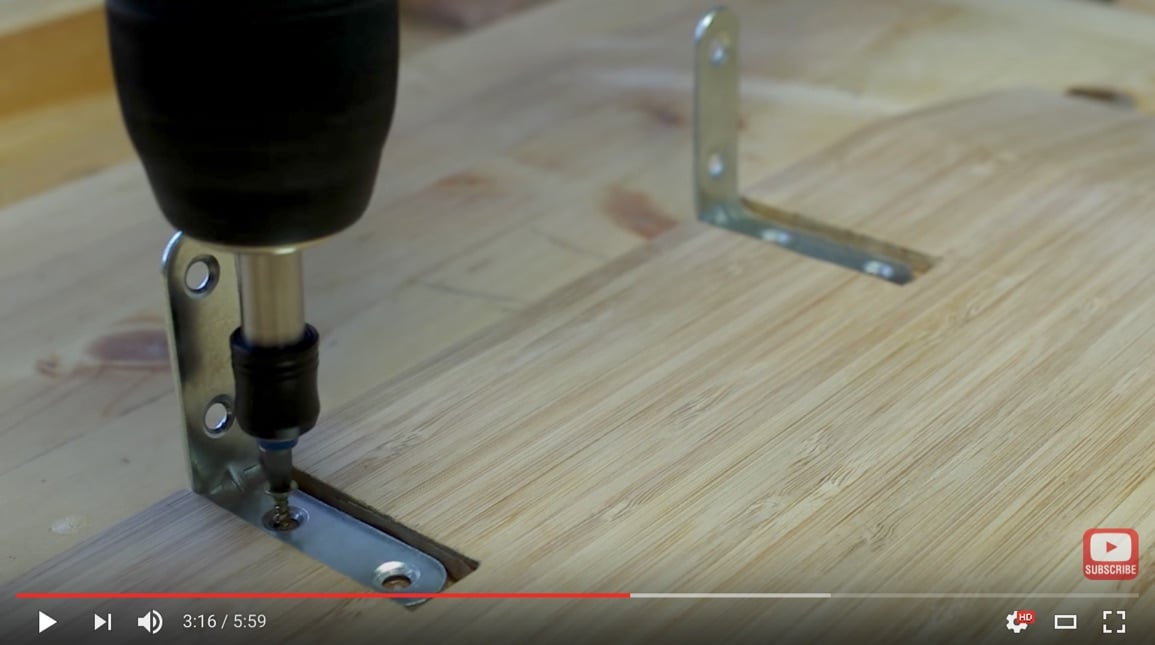
6. Apply Cyanoacrylate glue (aka Superglue) to the brackets and press them into the groove. Spray Cyanoacrylate Accelerator to speed up the adhesion.

bamboo-floating-nightstand-3

5. Screw in the brackets.

bamboo-floating-nightstand-4

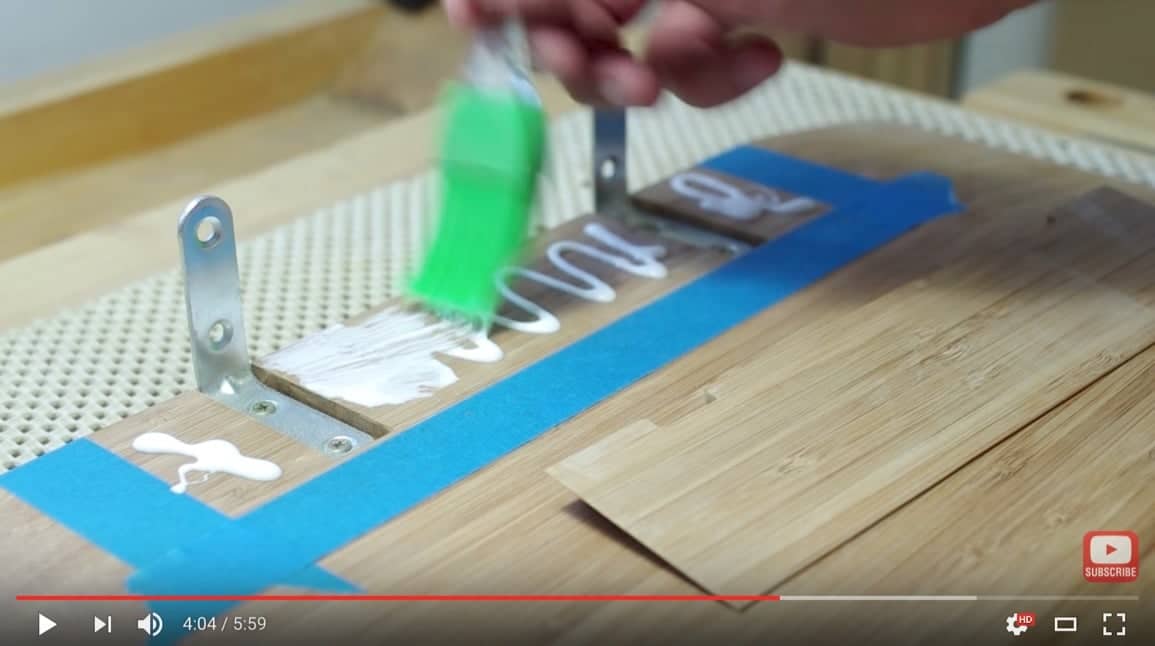
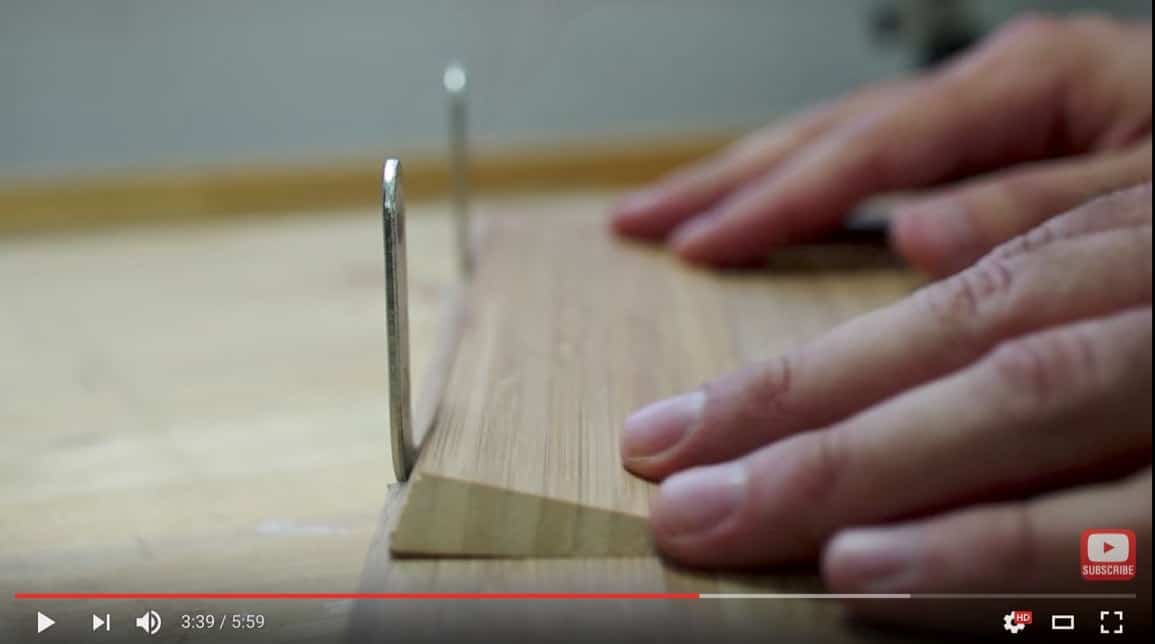
6. Use one of the bevelled pieces cut from the APTITLIG to cover up the brackets. Cut it into the right length.

bamboo-floating-nightstand-11

7. Attach the cover piece with glue.

bamboo-floating-nightstand-13

bamboo-floating-nightstand-12

8. Let dry and sand down the edges.

bamboo-floating-nightstand-14

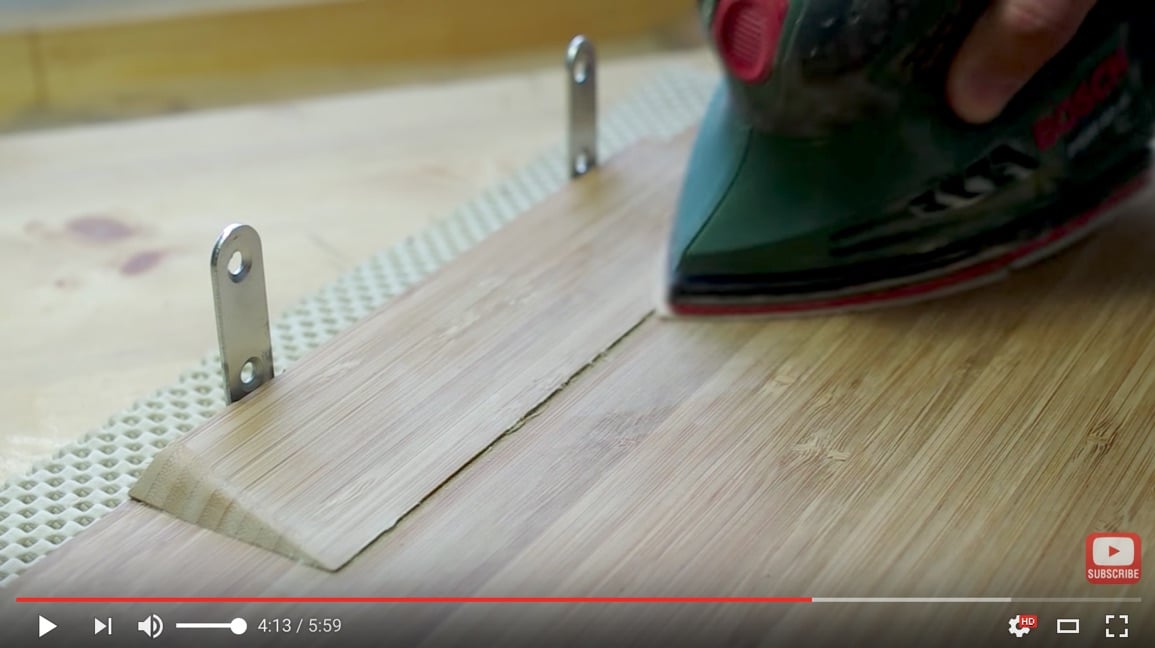
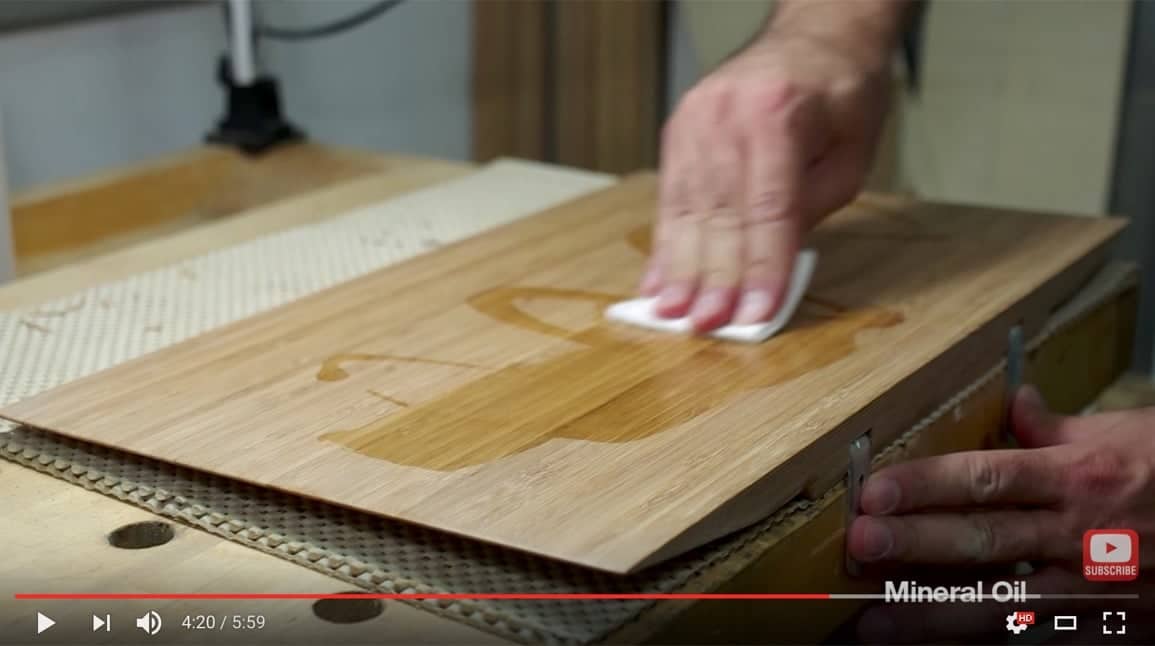
9. Wipe down with mineral oil. Finish with blended wax. Wipe off excess.

bamboo-floating-nightstand-10

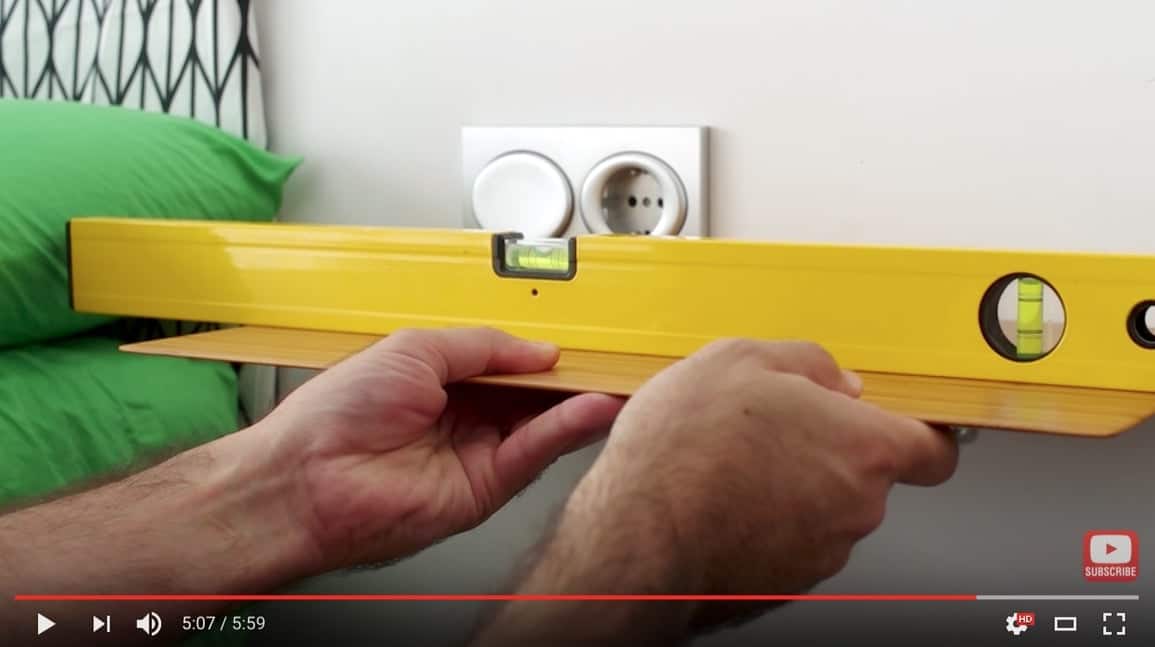
10. Attach to the wall with screws and wall plugs. Use a leveller to make sure the table goes on level.

bamboo-floating-nightstand-1

~ by Lluís (woodworking barcelona)

Comments

Popular posts from this blog

Mind the gap: Fit IKEA MALM over a tall baseboard

I forgot one thing when I ordered the MALM dresser : The baseboards in my apartment are very tall and very wide. So, when I installed it, I had a 4 cm gap between the wall and the back of the cabinet which was not aesthetically possible for me. As it is not possible to cut the back of dresser at the bottom to leave room for the tall baseboard, I decided that MALM should be raised. And it was much simpler than I had imagined. You’ll need: A MALM dresser (mine is a 6-drawer chest) Six oak bed legs (I think five would have been enough, but while I was there …) 6 mounting plates A piece of plywood the size of the bottom of the cabinet (I went to the hardware store next door, it cost me less than 5€) Screws White adhesive edging tape How to raise the MALM dresser above a tall baseboard Place the MALM upside down. Fix the plywood onto the underside of the MALM with screws. Predrill holes for the leg screws (if you have the same baseboard problem as me, make sure you measur...

IKEA KALLAX Queen Storage Bed

I built this prior to knowing this website existed, this probably would have saved some contemplation. For difficulty reference, I am no carpenter (electrician actually) and I built it with my right hand in a cast. We bought an old house with original hardwood flooring from the 40s so we were very concerned about damaging it. The casters on a normal bed frame put a lot of pressure on a small surface and we didn’t want it dented or damaged if things started a rockin …. Plus, a 40′s house has virtually no storage as you only needed 3 pairs of pants back then. IKEA material : 3 x KALLAX shelf units (4) 4 x KALLAX drawer kits 8 x KALLAX fabric boxes Non-IKEA material : 4 x 2×4 A grade (saves time) 2 x 2×6 2 x sheets 1/2″ plywood (what ever grade you want) 25ft x iron-on edge trim 100 x 3″ #8 wood screws 20 x 1-1/4″ #8 wood screws satin white paint Tools (I used) : Tape measure Drill w/ 1/8″ bit for piloting holes Impact driver for screws Table saw Miter saw Ass...

5 Creative Ways to Get Bold Colors into Your Space

Bold colors make a delightful addition to just about any space. They add an eye-grabbing element that just pulls you in. They also work well in a variety of styles, from the children’s room to artistic or boho spaces for adults. An accent color in a single piece can also work well in modern and minimalist spaces to provide a subtle pop of color. Take a look below for some creative ways to work bold color into your home. These ideas vary depending on how much effort you’re willing to put in, from retiling a bathroom to placing a few colorful furniture pieces around the room. Collect this idea These jelly chairs add instant color. Image: St Margarets Renovation and Kitchen Extension Wild jelly chairs The jelly chairs in the photo above offer a neat idea. Their see-through quality casts bright hues on the space behind them. Going for different shades in each chair gives a fun, artistic look. Combining brightly colored chairs with other colorful aspects in the room also gives a ...