
Homemade Beeswax Candles

Processed with VSCO with a6 preset

Processed with VSCO with a6 preset


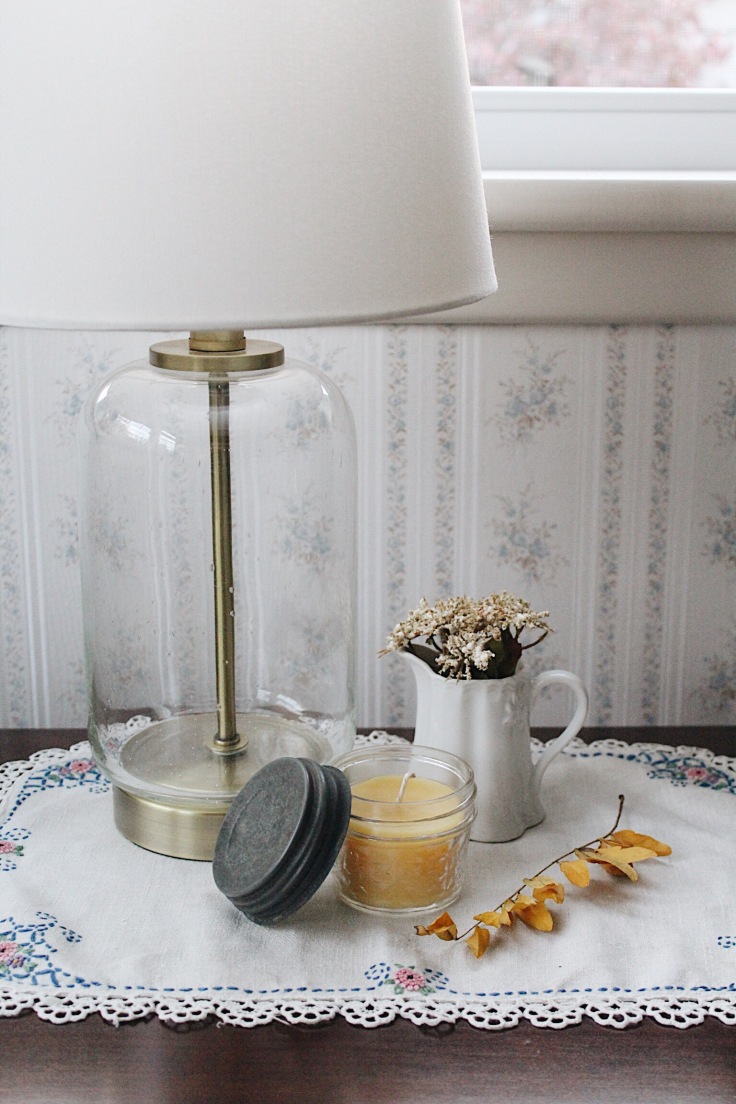
There’s nothing quite like the soft glow of a candle in the fall and winter months. Candles create warmth and coziness in any space and I almost always have one burning. As much as I love yummy smelling candles I know that some store bought candles are often filled with toxins that are released into the air when burned. I’m always looking for ways to create a safer home for my family with less chemicals. Beeswax is a safe and healthy to burn and isn’t filled with toxins. Plus it has a lovely natural smell. I’ve been buying beeswax candles for a little while now and while it’s easy and convenient to buy them already made, it can get costly especially for someone like me who loves burning candles often. So I decided why not try to make my own? I’m always looking to learn new skills and figured it was worth a shot.

I found this “How To” through Pinterest, it was simple and easy to follow! You can most certainly add essential oils to these candles. I opted to leave them out simply because I really enjoy the natural scent of the beeswax. However, I do think I’m going to make some peppermint ones for Christmas gifts! If you do use essential oils and plan on burning these candles around small children I suggest choosing kid safe oils. And of course never leave candles unattended both while burning and DIYing!!

These are the supplies you’ll need:

Beeswax 

Wicks 

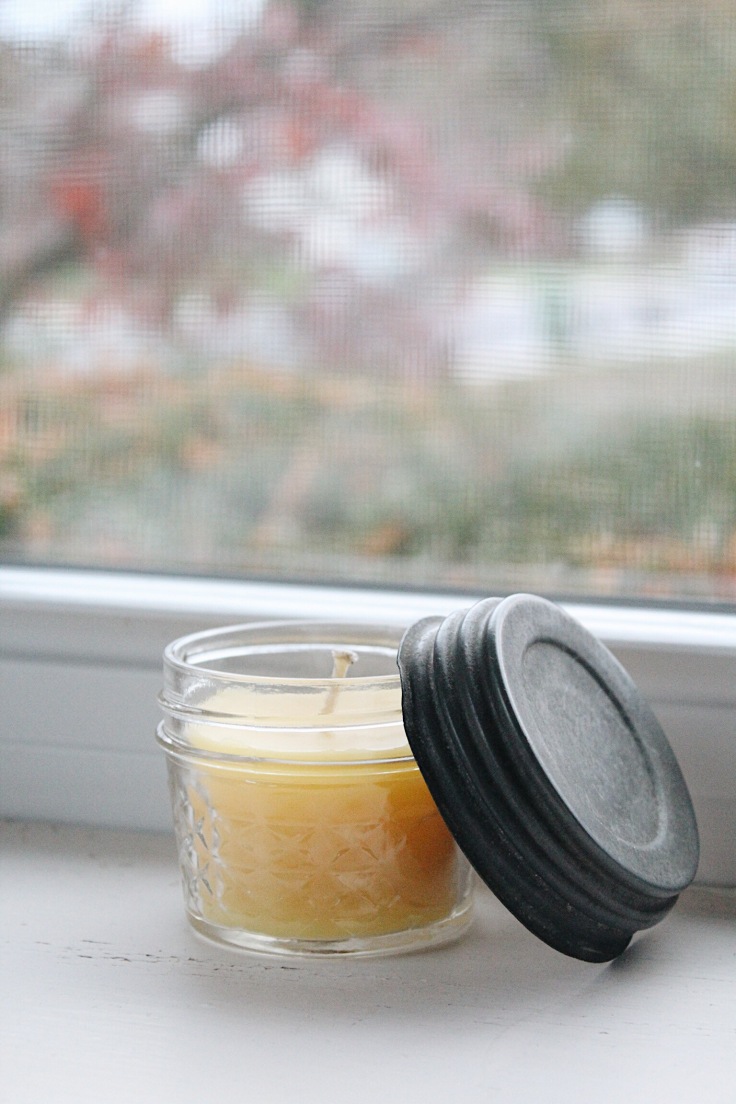
4 oz. Glass Jelly Jars – I purchased mine locally, but these are the ones I used.

A Hot Glue Gun – to adhere your wicks

Wood Sticks – for stirring as well as keeping my wicks in place.

A Pyrex bowl or measuring cup and an old shallow pot 

I used a measuring cup that I’ve been using specifically for homemade projects using wax and oils. I placed the measuring cup in a shallow pot with about an inch of water to create a double boiler. I poured my beeswax into the measuring cup and brought my water to a rolling simmer. Then you just wait for it to melt. Keep an eye on it I had to add more water several times. Once it’s completely melted just pour into your container. Be sure to keep your wick as straight as you can. If you’re doing larger batches I recommend larger containers. But, for my two small candles this process worked just fine. Once your wax is poured let it cool at room temperature on a flat surface. If you expose the wax to a drastic temperature change it will crack. Allow it to cure for at least two days before lighting. And last but not least, ENJOY! Easy Peasy, right!!?

I’d love to know if you decide to make some candles for yourself, be sure to take me on IG @thehomemakingmomma if you do!

Blessings,

Bree xx

Processed with VSCO with a6 preset

Processed with VSCO with a6 preset


Comments

Popular posts from this blog

How to Document the Home Building Process

Building your home is a unique experience filled with stories you will never forget. There is also important information you need to remember if you build, even after you settle in. Whether it’s for your family or for future renovations, documenting your build is an important part of the process. Keeping track of your documents and making sure your family stay in the loop can help you stay organized and make sure you remember everything about your build. Not sure how to stay on top of all of the details? Document the process with these simple tips so you can always look back on it fondly. Collect this idea Use social media and involve your friends. Image: Kroiss Development Keep friends and family in the loop The home building process is exciting and your friends and family will want to be included. In fact, you’ll probably find that your new home becomes a popular conversation topic. You don’t need to personally keep everyone in the loop. Instead, you can find ways to keep ev

5 Creative Ways to Get Bold Colors into Your Space

Bold colors make a delightful addition to just about any space. They add an eye-grabbing element that just pulls you in. They also work well in a variety of styles, from the children’s room to artistic or boho spaces for adults. An accent color in a single piece can also work well in modern and minimalist spaces to provide a subtle pop of color. Take a look below for some creative ways to work bold color into your home. These ideas vary depending on how much effort you’re willing to put in, from retiling a bathroom to placing a few colorful furniture pieces around the room. Collect this idea These jelly chairs add instant color. Image: St Margarets Renovation and Kitchen Extension Wild jelly chairs The jelly chairs in the photo above offer a neat idea. Their see-through quality casts bright hues on the space behind them. Going for different shades in each chair gives a fun, artistic look. Combining brightly colored chairs with other colorful aspects in the room also gives a

Granite Is No Longer the Most Popular Kitchen Surface and This Material Is

We hope you like the products we recommend. Just so you are aware, Freshome may collect a share of sales from the links on this page.  Granite has been the counter surface of choice in many high-end homes since its heyday in the 1990s. But the material is not the most low-maintenance or contemporary looking. For those who went against the grain and chose an alternative material like quartz, you are now a majority! The National Kitchen & Bath Association  announced its results from a survey of kitchen designers that granite is no longer the top choice for kitchen counters — quartz is. In the granite vs quartz battle, quartz takes first place and here’s why: Contemporary kitchens are preferred over traditional styles The top choices for kitchen design are contemporary style and quartz over granite. Image: Ferguson Shop a similar look: Bar Stool | Cone Pendant Lights | Chrome Ceiling Lamps According to the 2017 Houzz Kitchen Study , the contemporary style is the No. 1 look h