
Upgrade the FLISAT children’s table with a simple mod

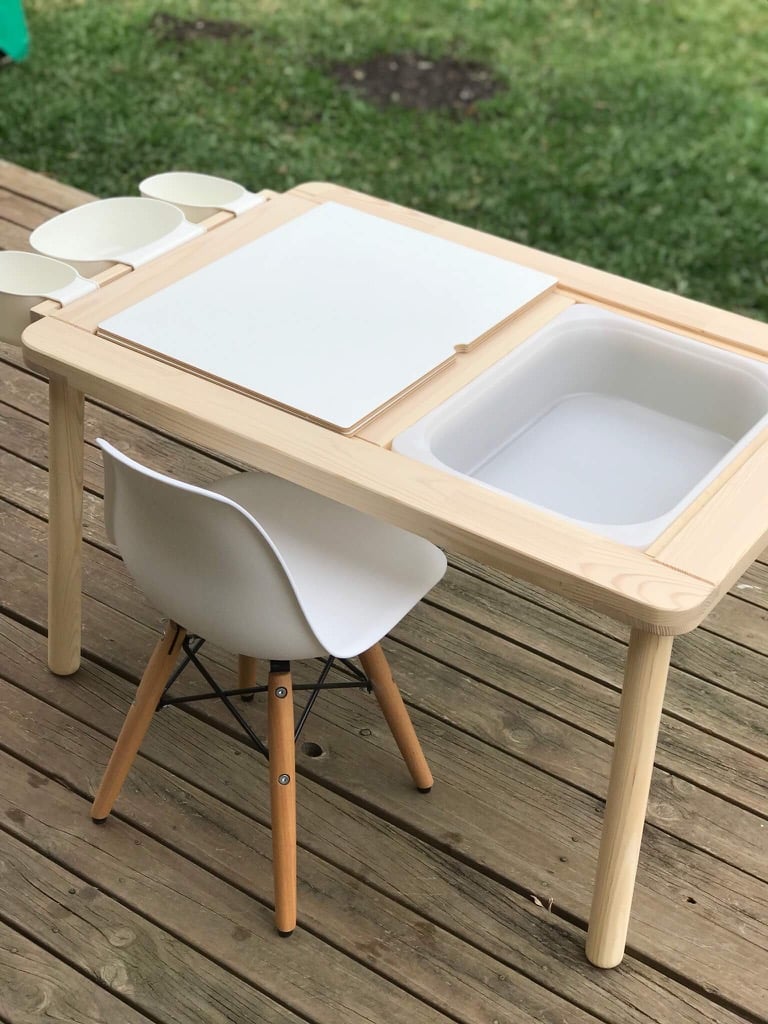
The FLISAT children’s table is quite a smart little thing. See those white covers? It’s a secret compartment. Open them up and you’ll fit 2 TROFAST storage boxes snug under the top of the table. Your child can reach in and get his or her LEGO bricks – and then — most importantly, sweep everything down into the bin to clean up. Or at least that’s what we all hope the kiddo does!

Lauren has a very simple yet practical hack to turn the FLISAT children’s table into a play table with more storage and better organisation.

Materials:

Flisat children's table

Photo: IKEA.com

  • FLISAT table with TROFAST tubs
  • ONSKLIG change table containers
  • Wood bracket
  • Pine

Simply attach two 8mm pine wood brackets (using screws or nails) to one side of the table. Line these up to the joint in the table. Pre-drill to prevent splitting.

Upgrade the FLISAT children's table with a simple mod

Upgrade the FLISAT children's table with a simple mod

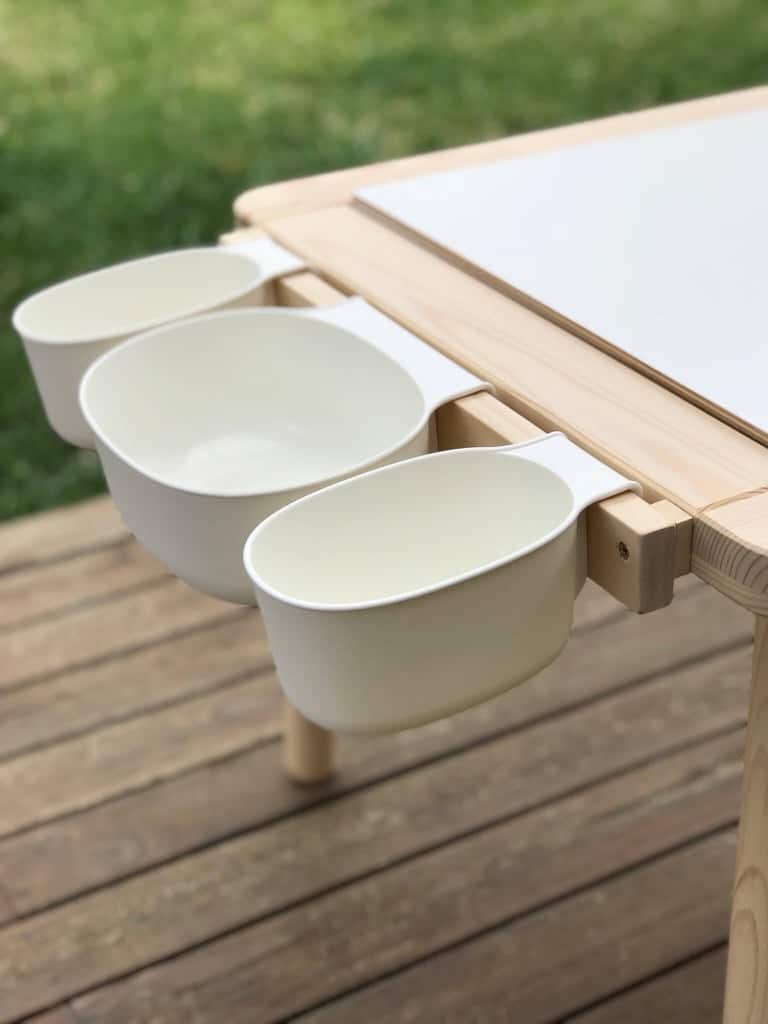
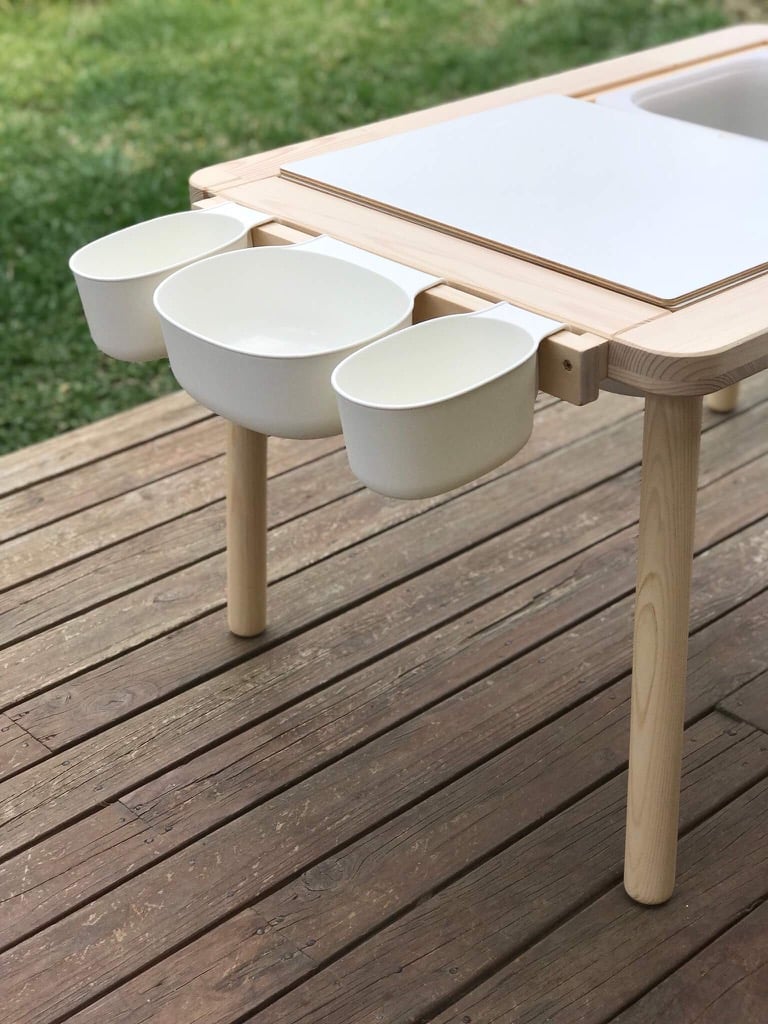
Next, screw one length of 40mm x 19mm pine wood (cut to 445mm) onto the brackets and slide on your containers! Now your table is a play station/storage unit fit for craft materials, LEGO, etc.

Upgrade the FLISAT children's table with a simple mod

Upgrade the FLISAT children's table with a simple mod

~ by Lauren


Browse these other ways to organise your children’s table

Space saving desk tidy

Jane used 3 BYGEL containers in white and a wire curtain system to add a desk tidy for pens and other stationery. (BYGEL containers are discontinued and they have been replaced by  SUNNERSTA containers, which are more rectangular but are a perfect substitute.) Read more.

reversible LATT table top
reversible top kids drawing table dry erase and chalk

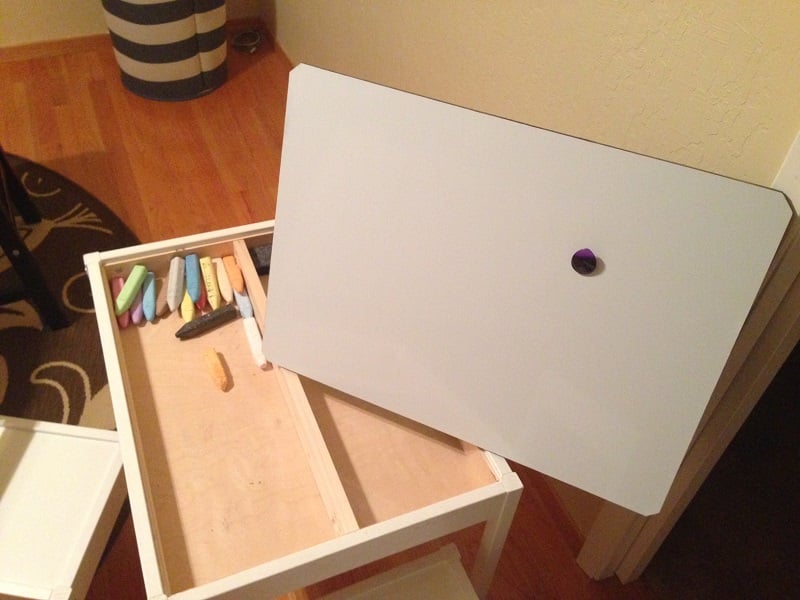
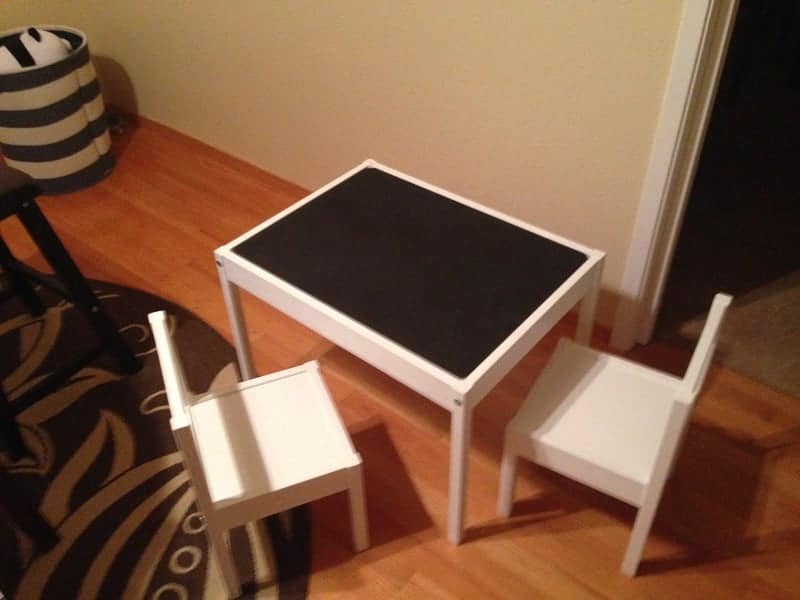
Tom created a storage compartment and removable/reversible table top for the LATT set. His daughter can then use the table top as drawing surfaces — chalk on one surface and dry erase markers on the flip side. Read more.

IKEA LATT table equipped with storage and organisation compartments

Alessia pimps the LATT children’s table to maximise its storage and organisation capabilities. All that her toddler’s drawing tools are within easy reach. Read more.

Comments

Popular posts from this blog

Mind the gap: Fit IKEA MALM over a tall baseboard

I forgot one thing when I ordered the MALM dresser : The baseboards in my apartment are very tall and very wide. So, when I installed it, I had a 4 cm gap between the wall and the back of the cabinet which was not aesthetically possible for me. As it is not possible to cut the back of dresser at the bottom to leave room for the tall baseboard, I decided that MALM should be raised. And it was much simpler than I had imagined. You’ll need: A MALM dresser (mine is a 6-drawer chest) Six oak bed legs (I think five would have been enough, but while I was there …) 6 mounting plates A piece of plywood the size of the bottom of the cabinet (I went to the hardware store next door, it cost me less than 5€) Screws White adhesive edging tape How to raise the MALM dresser above a tall baseboard Place the MALM upside down. Fix the plywood onto the underside of the MALM with screws. Predrill holes for the leg screws (if you have the same baseboard problem as me, make sure you measur...

How to Document the Home Building Process

Building your home is a unique experience filled with stories you will never forget. There is also important information you need to remember if you build, even after you settle in. Whether it’s for your family or for future renovations, documenting your build is an important part of the process. Keeping track of your documents and making sure your family stay in the loop can help you stay organized and make sure you remember everything about your build. Not sure how to stay on top of all of the details? Document the process with these simple tips so you can always look back on it fondly. Collect this idea Use social media and involve your friends. Image: Kroiss Development Keep friends and family in the loop The home building process is exciting and your friends and family will want to be included. In fact, you’ll probably find that your new home becomes a popular conversation topic. You don’t need to personally keep everyone in the loop. Instead, you can find ways to keep ev...

Brighten up: A reading lamp the book lover will love

We already had a MAGNARP table lamp in the living room, but we were missing a reading lamp next to our couch. For a standing MAGNARP floor lamp, we didn’t have space. And the available other IKEA lamps were not for our taste. I already saw solutions with FRÄCK , so I decided to make my own wall mounted reading light, fused with MAGNARP. Here goes: IKEA items used: Steps for an IKEA wall mounted reading light: 1. Take apart both sets. 2. Cut the power line of the MAGNARP to be able to pull it out from the pipe. (Cut at both ends of the switch) 3. Cut the pipe. Besides the threaded part which goes inside the bulb socket you I will need approximate 5mm. 4. Cut M10 thread on the pipe’s end, and drill over the thread inside the main plate with M10 as well. 5. Bend the mirror’s fork as seen on the picture. 6. Mark the holes from the bent fork onto the main plate, and drill holes. 7. Make the electric work with a new switch. (I laced it inside the arm before doing so...