1. Light Light Light. If the room doesn’t have the luxury of an external window, the implementation of a simple skylight can bask the space in natural light, without taking up precious wall space.
-
Clear shower screens (as opposed to opaque) give the illusion extra space and light. (Below is a bathroom renovation example from Duncraig, Western Australia) Screen is Frameless Wall To Wall
-
A fully frameless shower screen doesn’t create any visual barriers at all and can work brilliantly in a small bathroom.
-
Make use of natural light, don’t block windows with heavy blinds.
-
Consider a skylight. A skylight will solve problems if the room is oriented away from the sun.

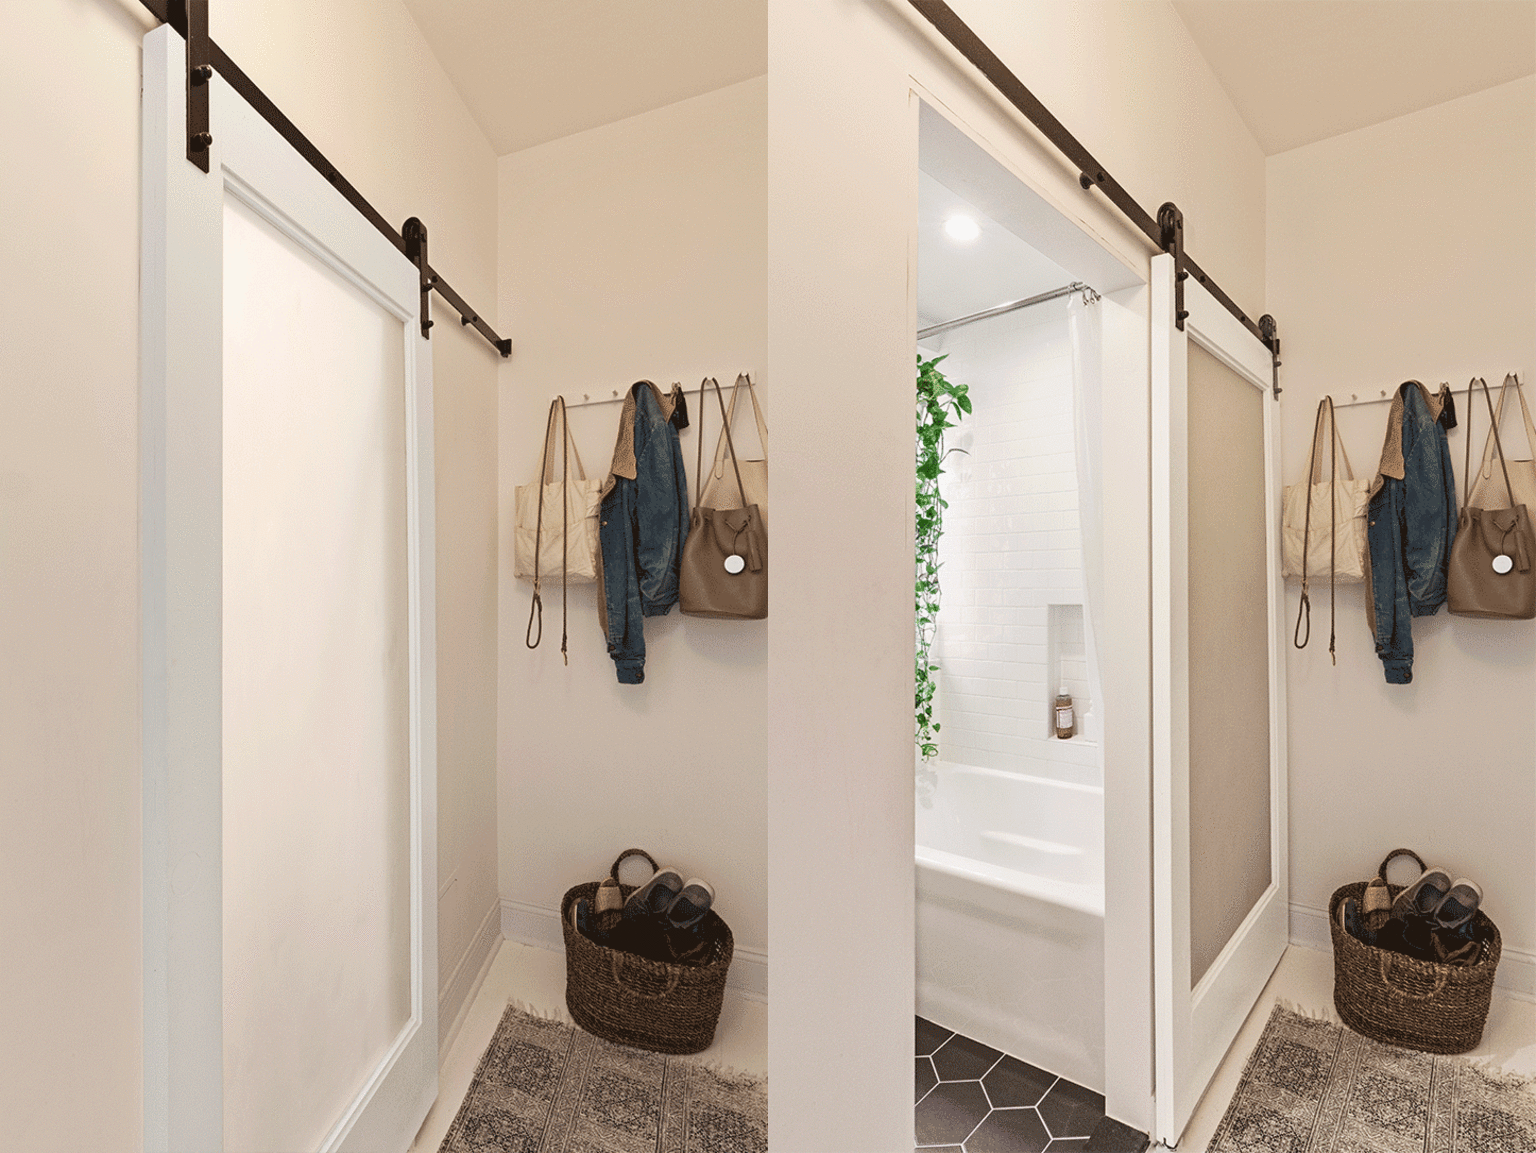
2. Sliding doors can be a great addition to a small room as they allow for that extra bit of space – every bit helps! You can get doors the slide into the wall but this can really blow out your costings for small bathroom if not built in that style from the start of the home construction. We have done many ensuite renovations in Perth where when you open the door to get into the room you literally open it into the shower door.

3. Floating Vanity . A vanity that connects only to the wall makes a bathroom instantly appear larger and creates the option for storage underneath. The bathroom renovation below in Maylands, Western Australia has a very tight space between the entrance of the shower screen and the vanity so by making it wall hung it creates a much bigger feel to the floor. (The also used the space for a scale in case you were wondering)

4. Why not make it a wet room. Wet rooms with no shower screen are exactly how they sound. Without the use of a shower screen you can really open up a small bathroom or ensuite. Below is a bathroom located in East Perth, Western Australia and uses the all out wet room approach to make the room feel bigger.

5. Utilise the space above the toilet. Many people don’t consider the top of the toilet as an additional storage space. There’s an opportunity to create an instant shelf by extending the counter above the toilet or if you have the wall space implement shelving like this Thornlie blue bathroom (we didnt paint it) below.

6. Large tiles make the room feel larger its as easy as that. Long lines opposed to small busy lines create a long wide feel to what can be a small bathroom. Below is a bathroom renovation in Willetton that uses a tile called Carbara Bianco which on a side not never gets dirty.
-
Larger tiles in your bathroom create a sense of space, you’ll need fewer tiles to cover your space, which means less grouting and lines breaking things up visually.
-
You can also add space by showing off as much of the floor as possible.

7. Mirrors, mirrors, mirrors. Even in the tightest of spaces, mirrors have a magical effect in making them appear bigger. If you can do a long mirror it will create height in the room but also the mirror cabinet is great for keeping items off the vanity to create space. This Ensuite Renovation we completed in Perth below had a custom-made mirror cabinet installed from ceiling to vanity height to maximise storage space.

Small bathrooms can be annoying plain and simple. A lot of our renovations especially in Perth have the smallest Ensuites and our clients are often frustrated trying to make this space that you cant even swing a cat in the dream bathroom for them. The way i always look at is aim to de-clutter. Whether its the mirror cabinet to get items off the bench top or making a shower floor hobless you want to create a minimalist
bathroom as if it feels cool and functional hopefully making it less annoying. So that is our 7 Small bathroom renovation tips let us know what you think comment below or if you are looking for a quote and live in Perth, Western Australia contact us on 0419964678 or email us at ontheballbathrooms@gmail.com
Originally seen on Ontheballbathrooms
Comments
Post a Comment