Materials:
- IKEA SNIGLAR changing table
- 4 x Toggle Latches
- Handle (you can also opt for a stylish leather one)
- Foam
- Fabric
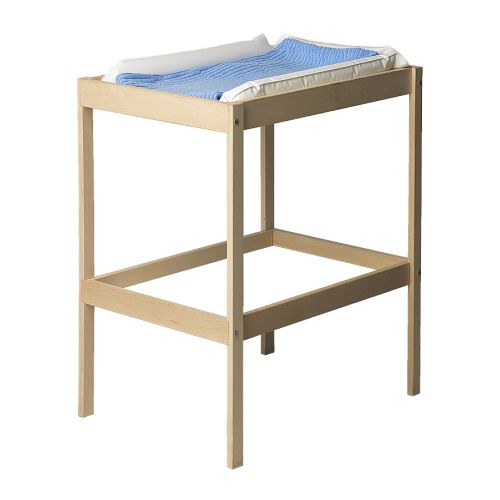
Photo: IKEA.com
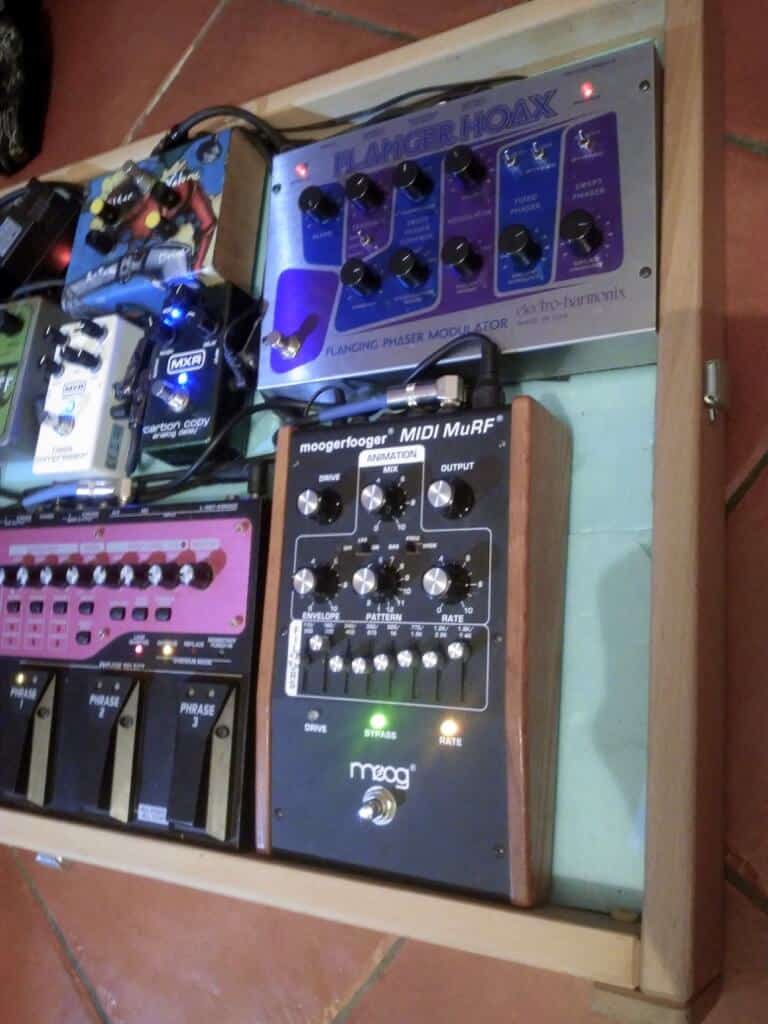
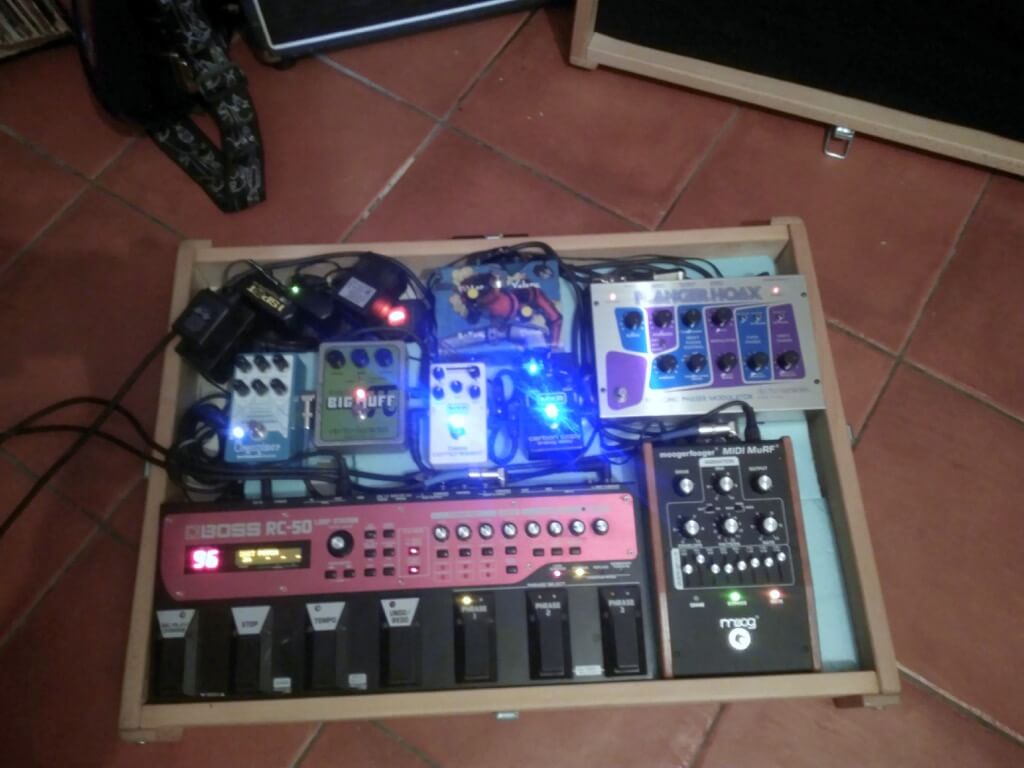
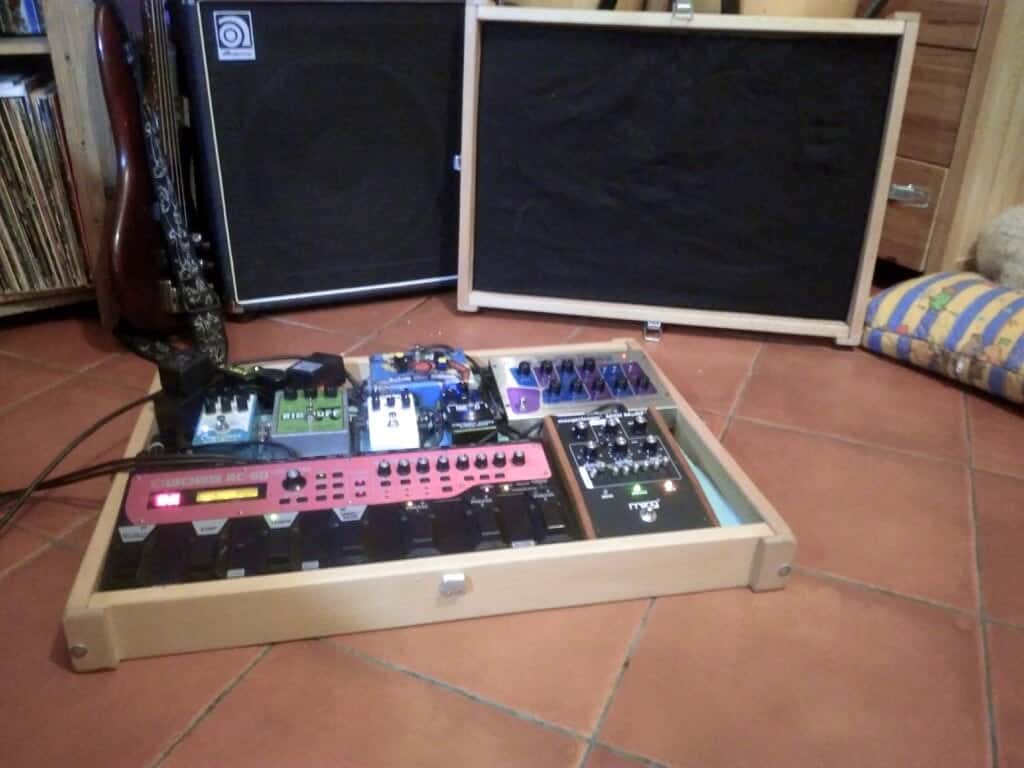
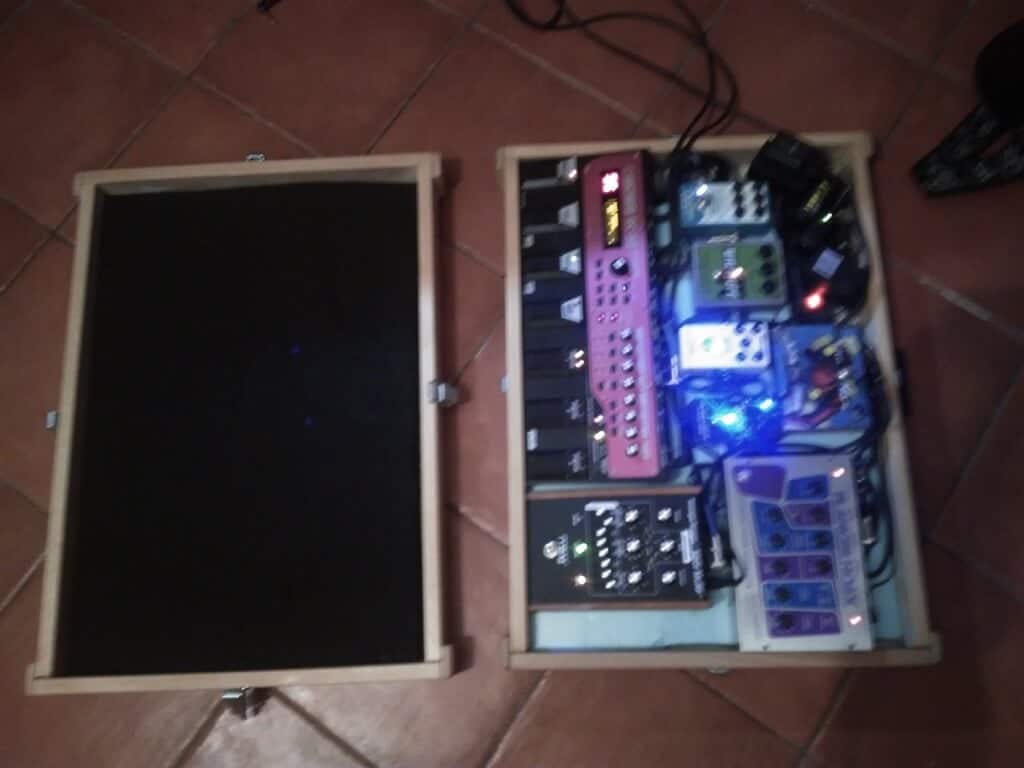
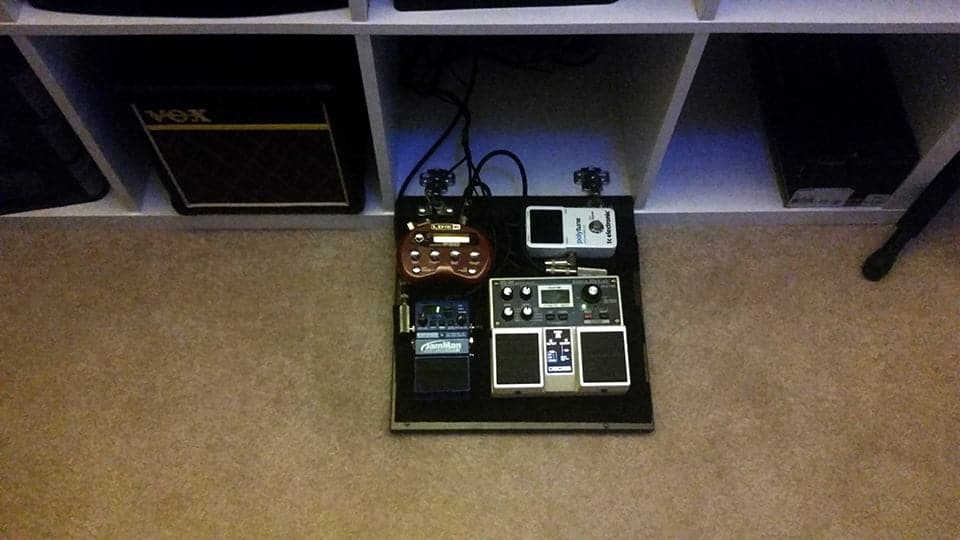
I needed a quick and cheap way to carry on all my effects pedals in one case and just plug 3 cables, one from my bass to the pedals, one from the pedal chain to the amp and the power cord.
Since the kids have grown up we didn’t need anymore the changing bed (although I was using it as a storage cabinet), I decided to hack it into a pedal board case.
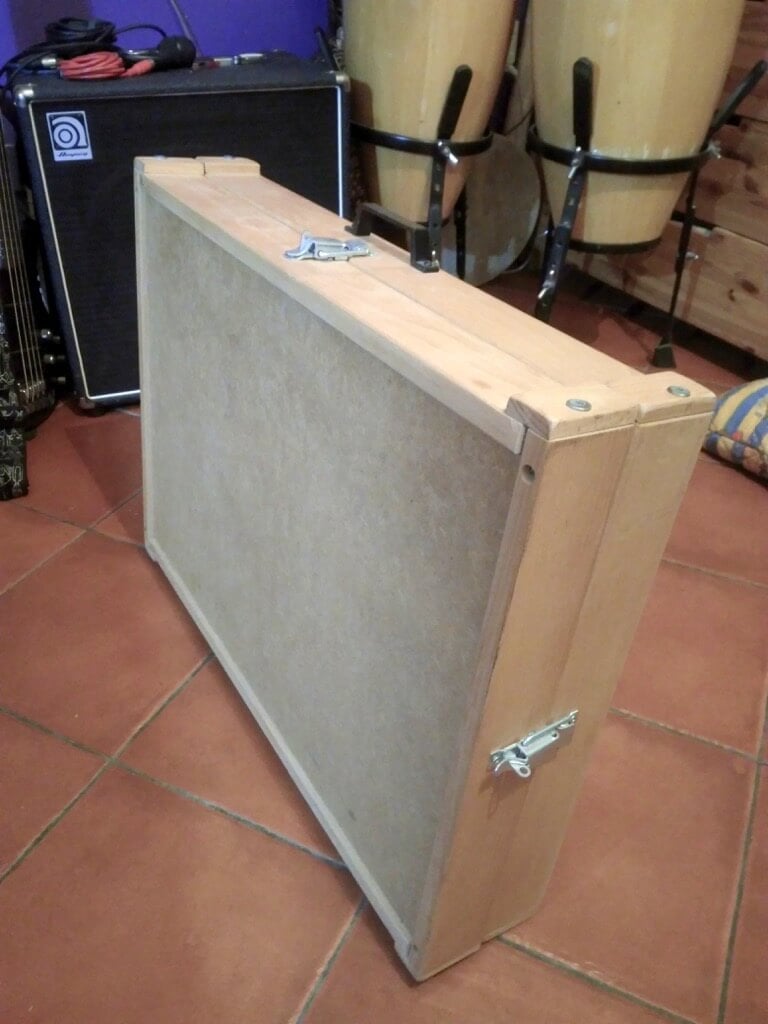
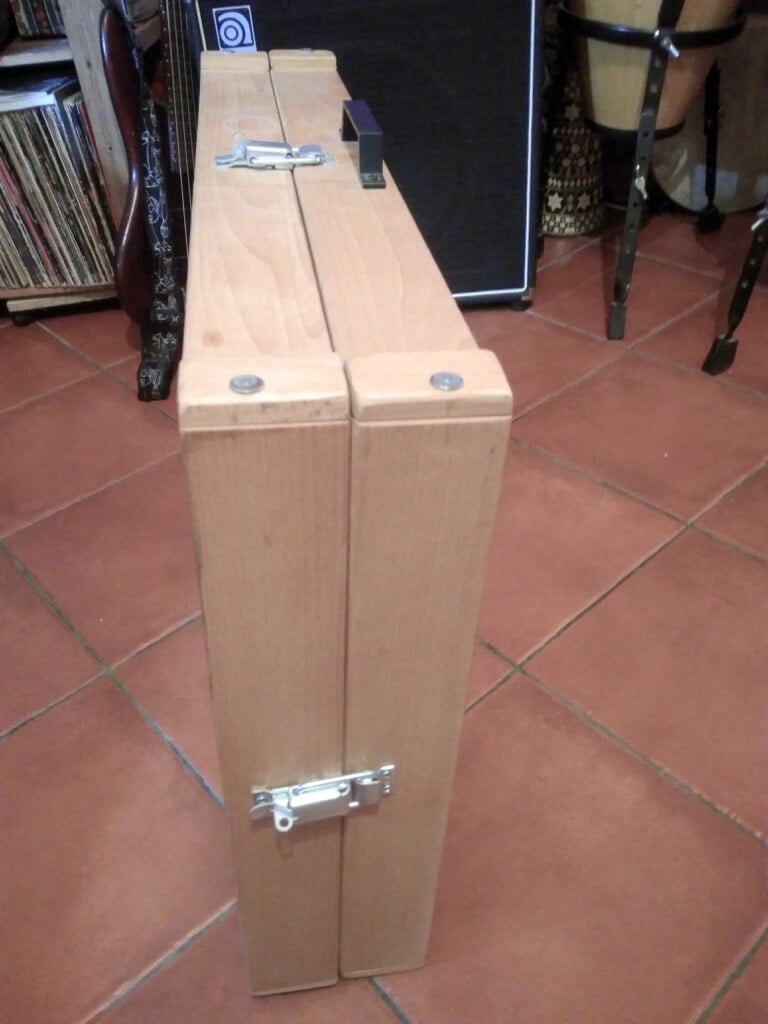
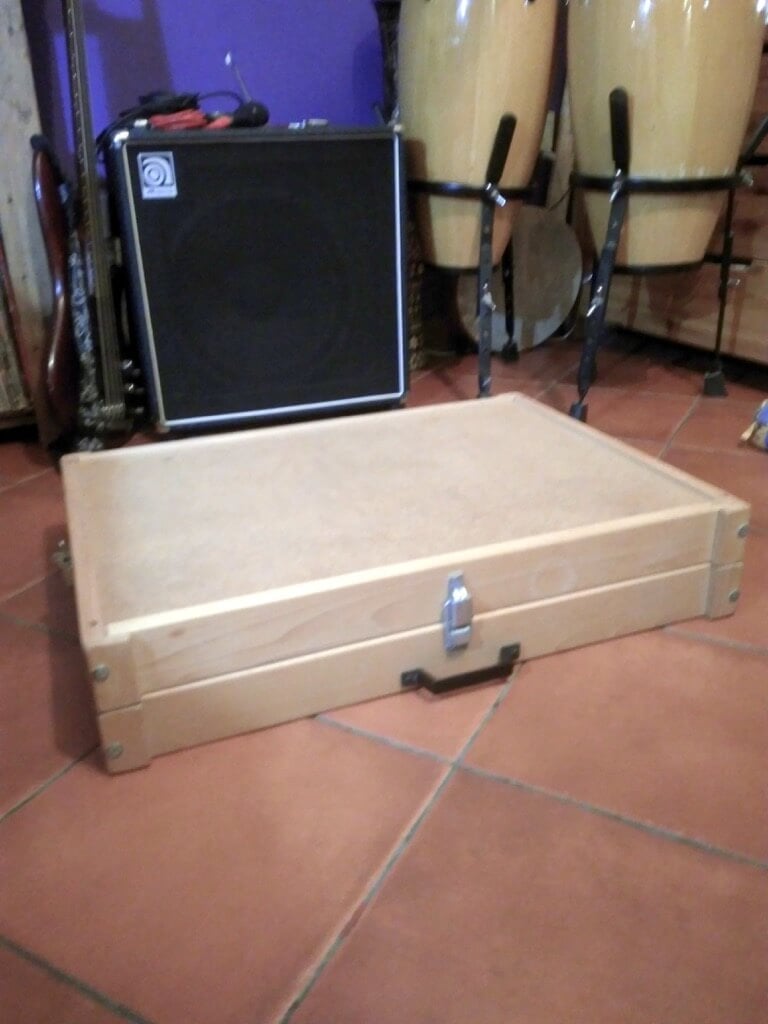
Just cut the legs, put some hard foam in the bottom and soft foam with fabric on the top, 4 removable latches on the sides, a handle and we’re ready to go!!
~ by Yiannis Mytalas
You may also like these ideas for DIY pedal boards

Florian admits that this might seem a little decadent (though we honestly love the rock-glam), but aside from its practical use it is excellent as a musician’s living room decoration. Read more.
Jason keeps a few guitar pedals with a small practice amp in his office to take a music break. He wanted to keep things out of sight but accessible. Here’s how he did it.
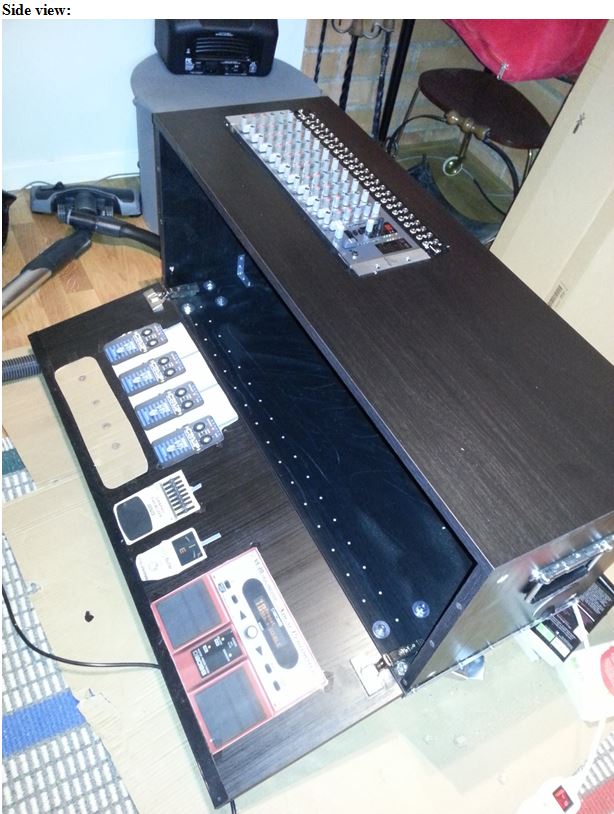
Mikael needed a pedal board with lots of space as well as being easy to take to a gig. His set-up is perhaps a bit unusual but it fits a motherload of pedal effects and more. See the XXL pedal case in detail and view more photos.

Ray took the IKEA GORM shelves (discontinued, try the HEJNE shelves) and made a slim and compact pedal board case for guitar effects pedals. Easy to carry around too with the box top. See how he made it.
Great find from Source Ikeahacker
Comments
Post a Comment