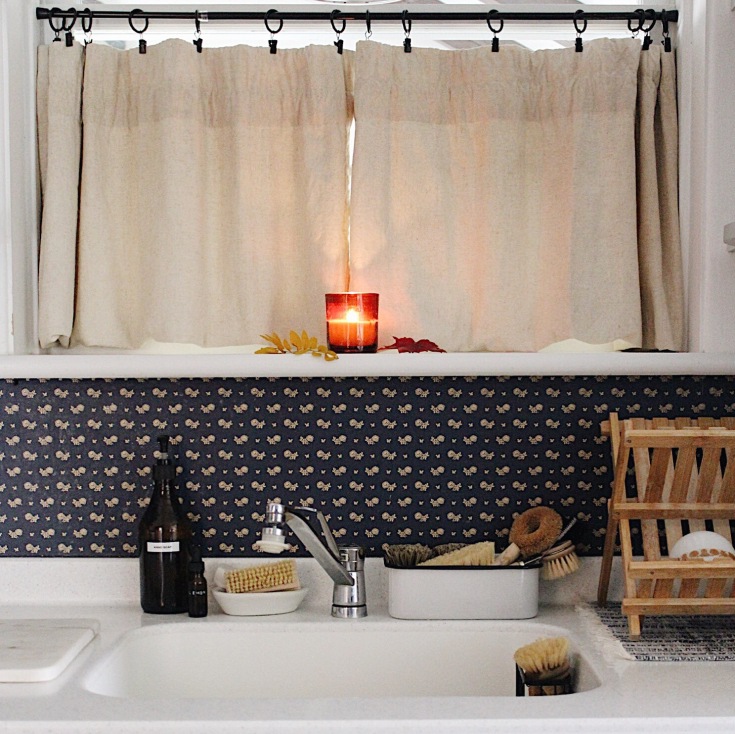
Good morning friends!! I’ve had so many questions lately about how I incorporate essential oils into our home and how to easily eliminate harmful chemicals. Today I wanted to share one way I do both of those things. Homemade Hand Soap.
The same way that many of us examine food labels, we should be doing the same for personal care and cleaning products. There are many products out there that contain known toxins. And unfortunately most are very poorly regulated. I’ve realized over the years that it’s my responsibility to do my own research and decide what I choose to use and not use. These are my own personal convictions, maybe you share similar ones or maybe you don’t, that is okay. You do you! If you do then it’s my hope that you find these posts helpful and encouraging as you travel your journey to healthier living. Now I know it can be overwhelming and we certainly can’t avoid things completely. I’ve also come to terms with the fact that this process takes time. And every day all I can do, is do the best with the resources I have to create the safest home I can for my family. So how about that recipe, haha? It super simple, friends and only requires a few ingredients.
You’ll need:
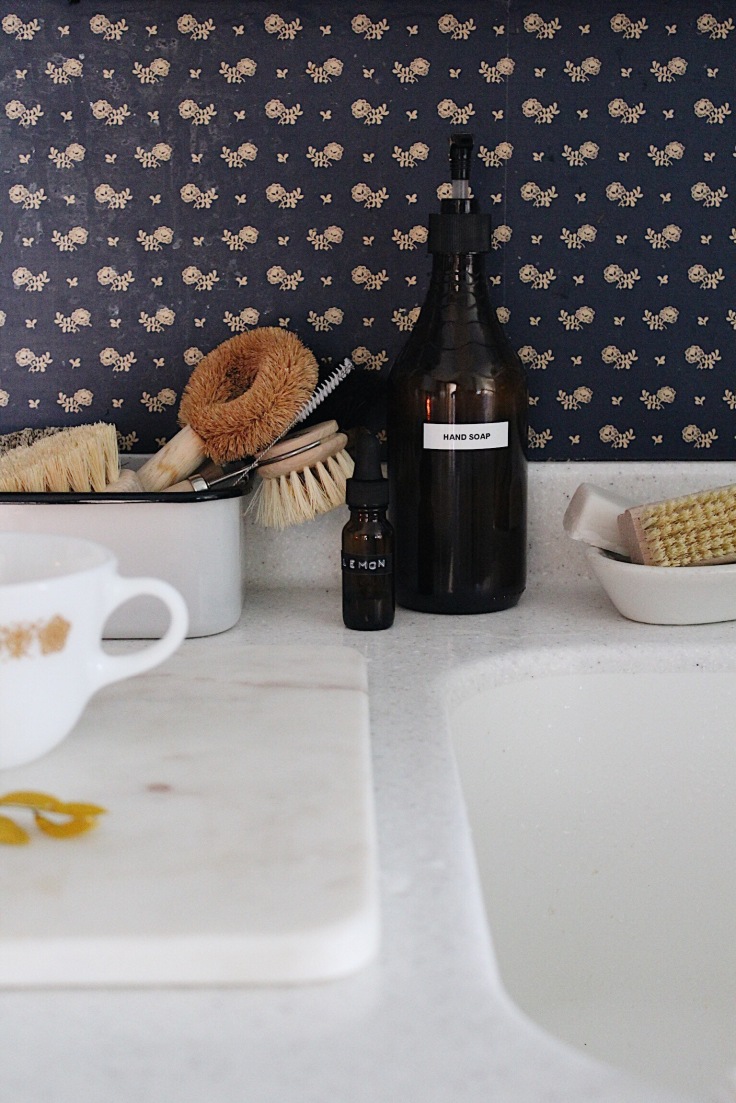
A container with a pump – I actually recycled an amber glass bottle that I had and I just so happen to have a soap pump laying around. I recommend glass bottles especially when using essential oils. Glass will help to prolong the life of your oils however plastic will do just fine because this recipe is heavily diluted. So use whichever works best for you. You don’t need to add oils to this recipe but the oils certainly add extra purifying and cleanings properties to your soap, plus they smell nice!
These received good reviews on Amazon or these or these plastic ones
3/4 cup Dr Bonner’s Castile Soap – it’s important to note that castile soap can be drying. If this is a concern for you, I recommend using less castile soap and a little more water. I also recommend my homemade calm balm or hand balm as a wonderful daily moisturizer, especially during the winter months when many of us suffer from dryer skin. You can find both recipes here.
3/4 cup distilled water
1 tablespoon vitamin e oil
1 tablespoon almond oil
15 drops of preferred essential oil or oil blend.
I love Lemon especially for kitchen soaps. Lemon oil has antibacterial and anti-fungal properties, which makes it a great household cleaner as well as a great addition to a hand soap.
Lavender and Frankincense are wonderful options as well. I love mixing these two together. Lavender has been highly regarded for the skin. It’s known for it’s healing and anti bacterial properties. It may be used to cleanse cuts, bruises and skin irritations. So it seems like a no brainer for hand soap. If you are only ever going to buy one oil I think many agree it should be lavender! It has so many amazing benefits. I truly believe every home should have a bottle.
Frankincense is also a wonderful oil to add to your hand soap and homemade lotions. It’s also a known antiseptic and a powerful astringent, meaning it helps protect skin cells.
All you do it mix all these goodies together and viola your very own homemade, chemical free hand soap. I like to give my bottle a good shake a couple of times a day so that I’m distributing the oils. We all know oil and water don’t mix well. So sometimes we have to help it out a bit.
That’s all she wrote, folks. Sounds pretty simple doesn’t it? I’d love to hear if you decide to try this recipe for yourself or what other recipes you’d like me to share! Let me know in the comments below and of course questions are always welcome!
Blessings,
Bree xx

Great post originally from The Homemaking Momma
Comments
Post a Comment